The Pantera Place
"Your de Tomaso
Connection"
Pantera Brake Calipers
By Mike Dailey
|
All of the technical information and product information posted on this website is offered as general information and is not recommended, endorsed, guaranteed or presented as professional technical information. It is recommended that you seek professional help for the repair or maintenance of your car. Improper self-maintenance or repair of your car can result in serious injury and or death. Use of this information is done at your own risk. |
September 4, 2012
The Pantera Technical Information Manual has a very good section (group 12) on the Pantera brake system and it is recommended reading before starting any brake work.
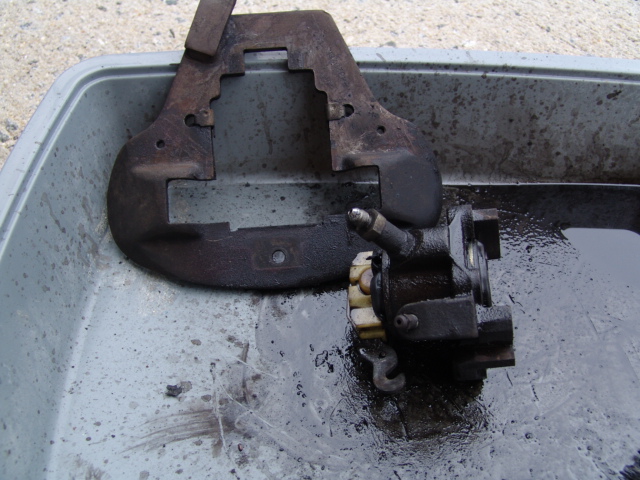
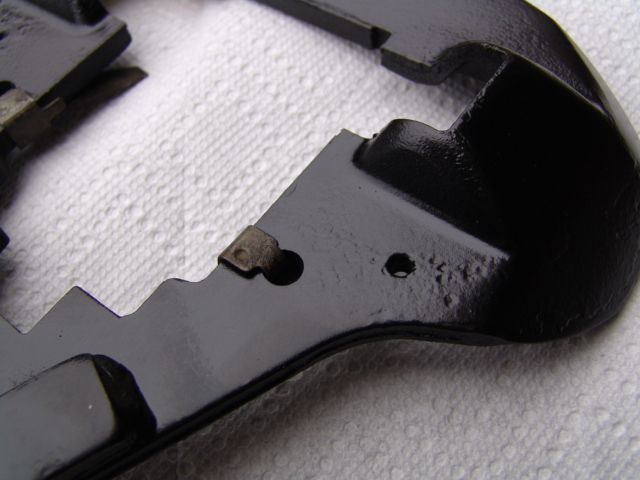
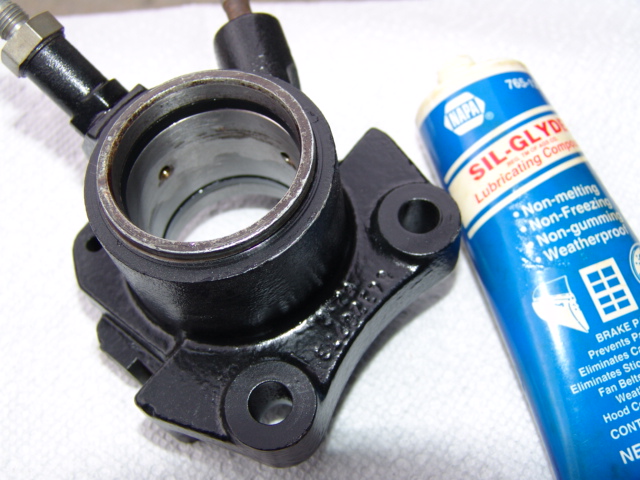
Back Caliper
I've accomplished a lot of rebuilding and updating on my car in the last decade, but other than annual brake fluid flushing I'd never taken the calipers apart for a cleaning and reseal. Other than an odd problem with the proportioning valve a few years ago, the braking system has always worked great until recently when the left back caliper started sticking and dragging. It seemed to be related to the handbrake not fully releasing on that caliper, so it was time to take them apart and refresh them. I ordered a new caliper seal kit from Pantera Performance Center in Colorado including a new set of pads.
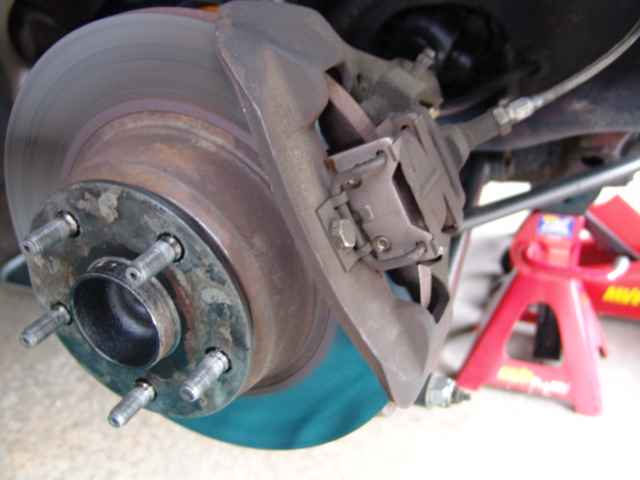
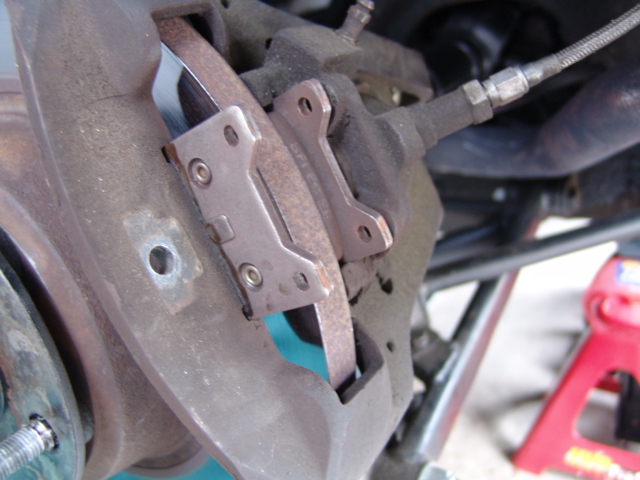
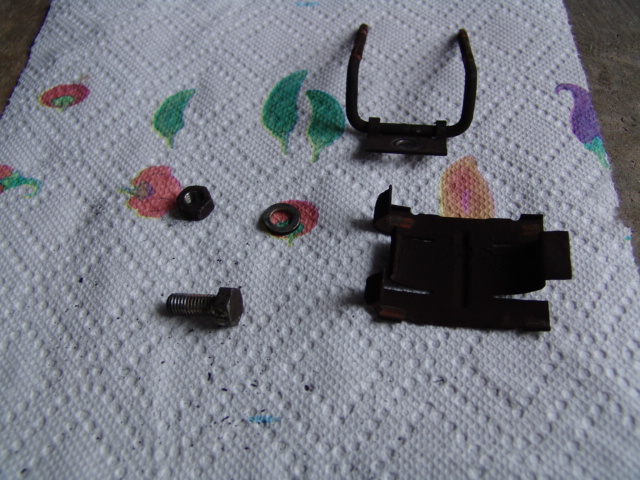

The first step was jacking the car up, putting it on jack stands and taking the caliper off. As I was taking the handbrake cable off I discovered that the arm on the inner piston that works with the handbrake cable was sticking.
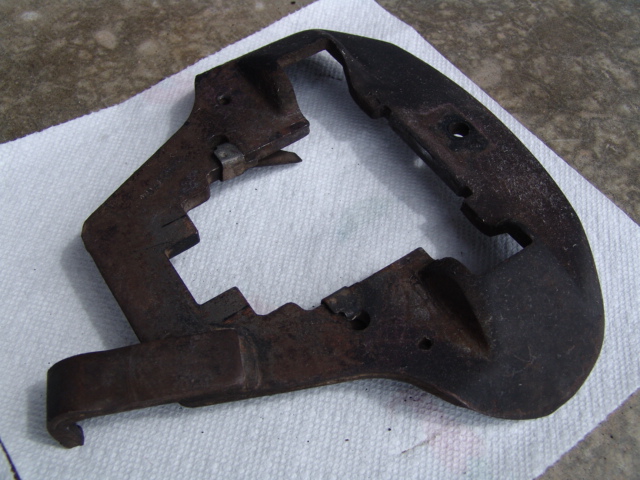
The next step was taking the caliper apart and cleaning all the parts with brake cleaner.
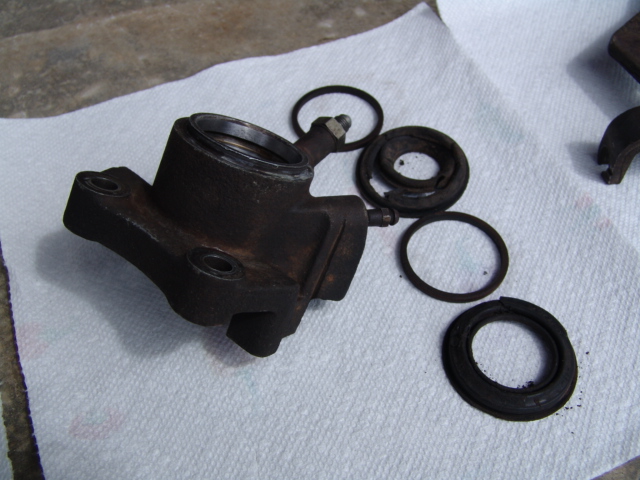
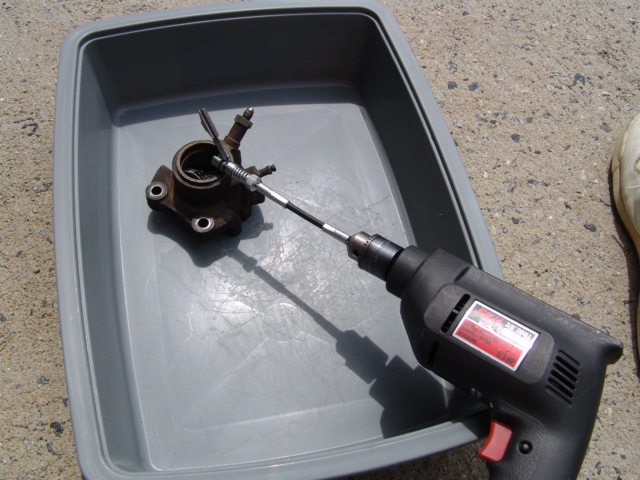
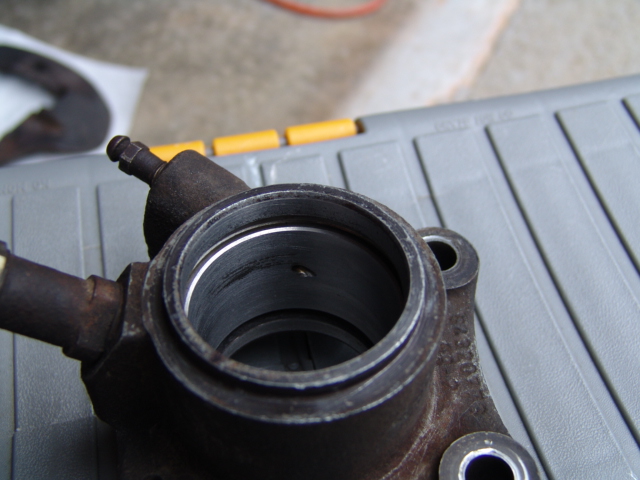
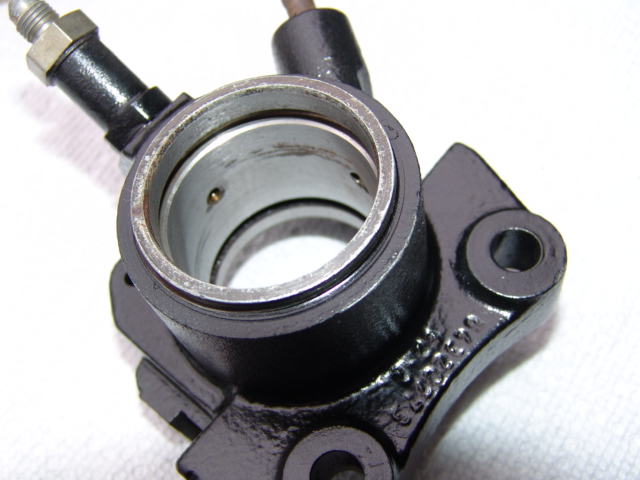
I used a fine brake hone to lightly clean up the bore. There was some pitting in the bore but it was in the center part that does not have a negative impact on the operation unless the pitting is so deep that a piston could catch on the rough surface.
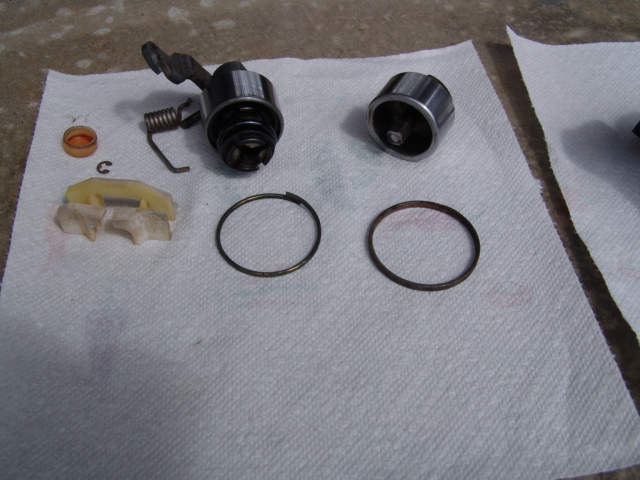
I used crocus cloth to polish the pistons.
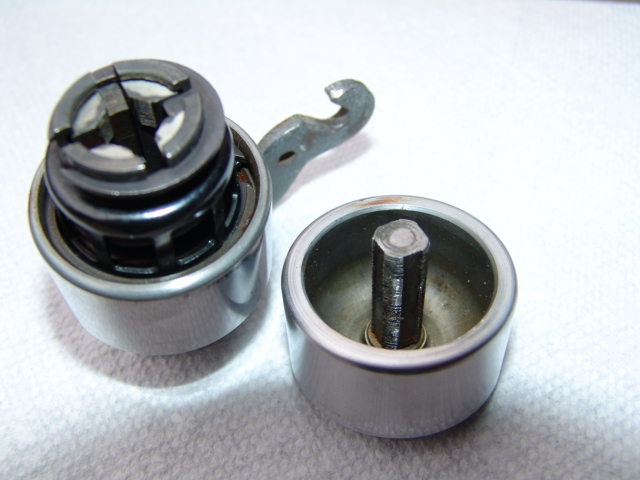
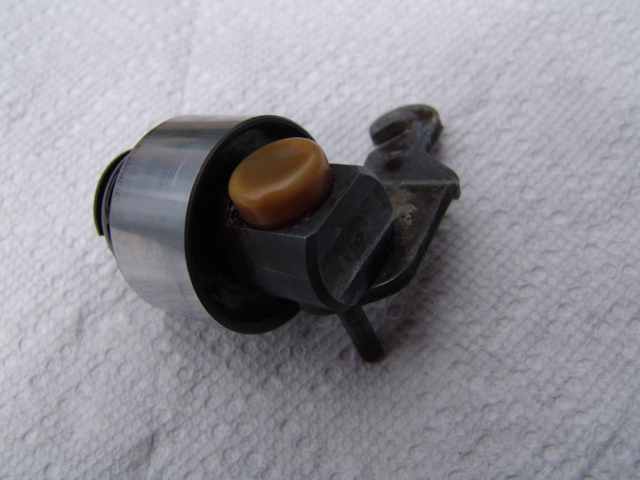
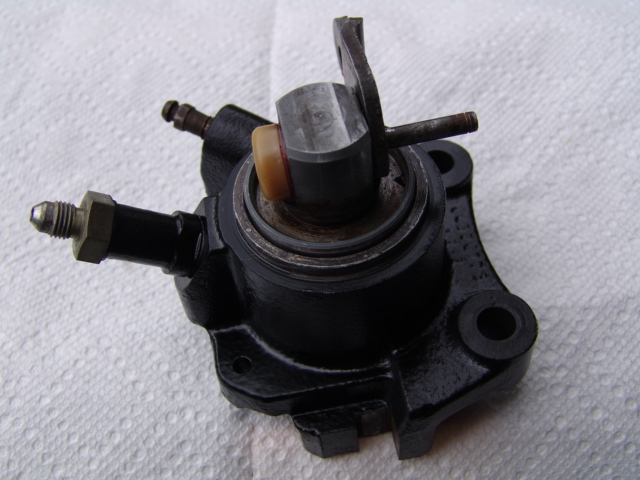
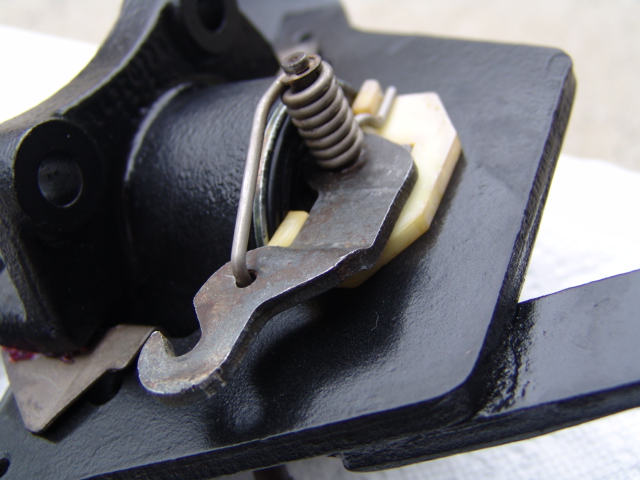
View of the inner and outer pistons. In this view you can see how the grooves on the outer piston locks into the inner handbrake grooved ratchet mechanism. You can also see why turning the outer piston 45 degrees releases the two pistons so they can be collapsed and the pads replaced. The sticking of the handbrake arm seemed to be related to part of the dust boot getting jammed into the pivot point of the arm. I cleaned out all of the gunk around the arm and it seemed to free up and work smoothly. There must be some type of seal related to the arm because it moves the parts inside of the piston, but Dennis at Pantera Performance Center said that he has never seen a leak around the arm so I elected not to disassemble the arm and piston. There are a few parts inside the piston including a very heavy spring.
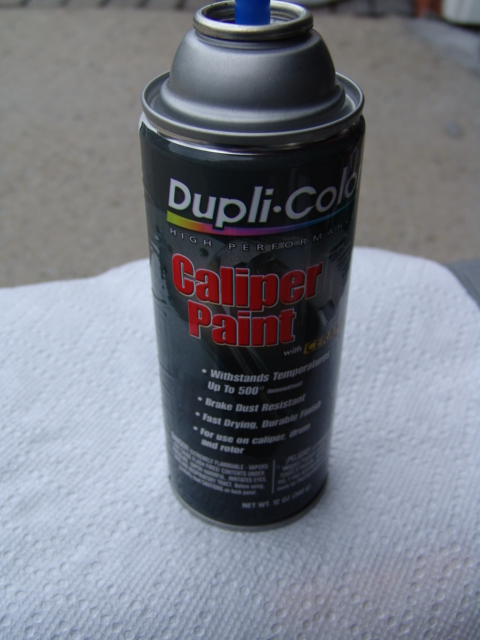
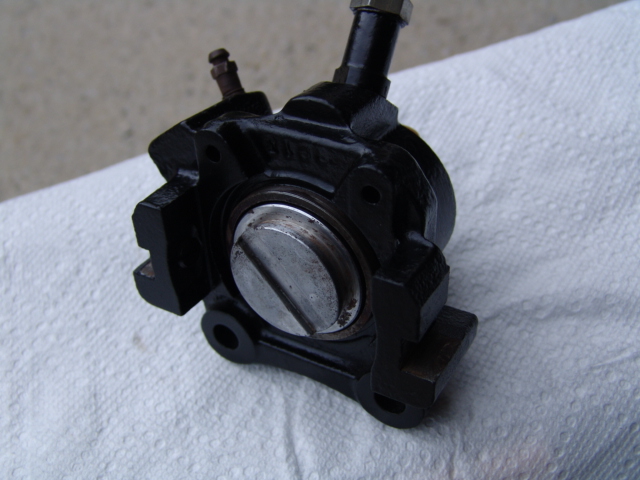
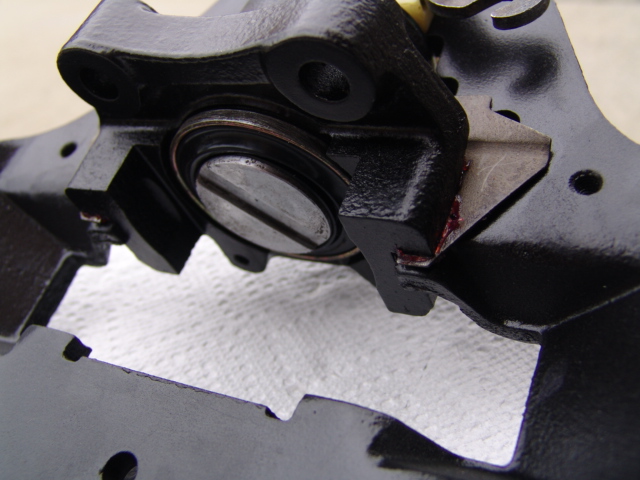
I used masking tape to mask off the parts and painted them with high temp caliper paint. In this view you can see the re-installed spring clips that keep the caliper body and the outer caliper ring from rattling.
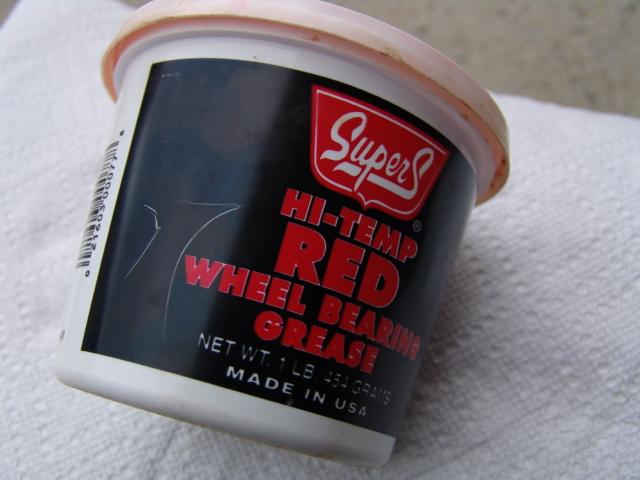
There is a grease reservoir on the back side of the handbrake arm shaft. I filled the cap with high temp grease and snapped the cap back on.
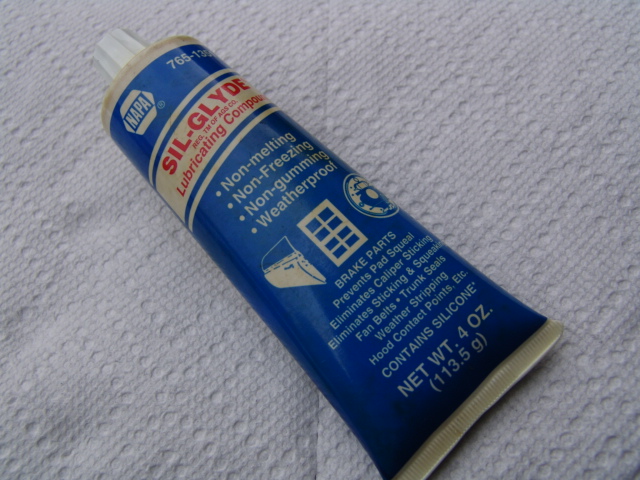
I coated the new seals with brake lube and put the seals inside the caliper body. The front part of the pistons were lightly coated with brake lube so they would slide in without damaging the seals. The outer piston must be installed with it turned at a 45 degree angle so it can slide into the inner piston.
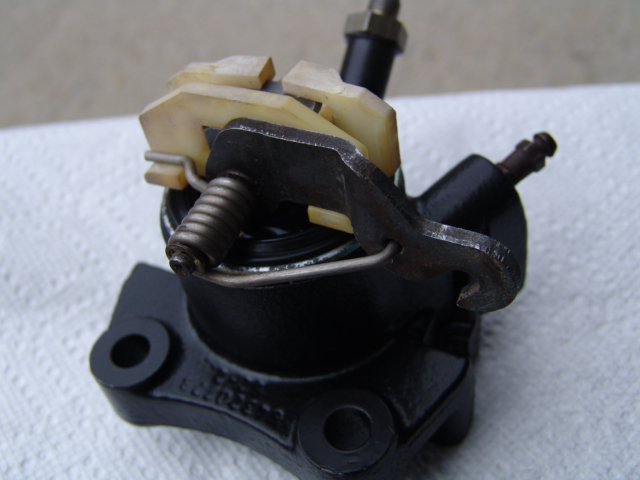

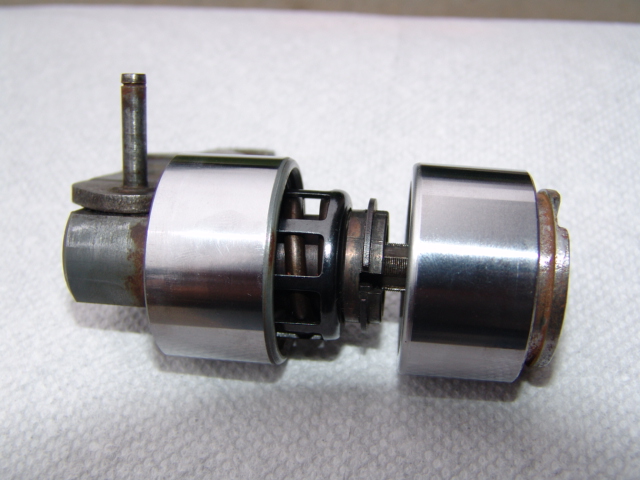
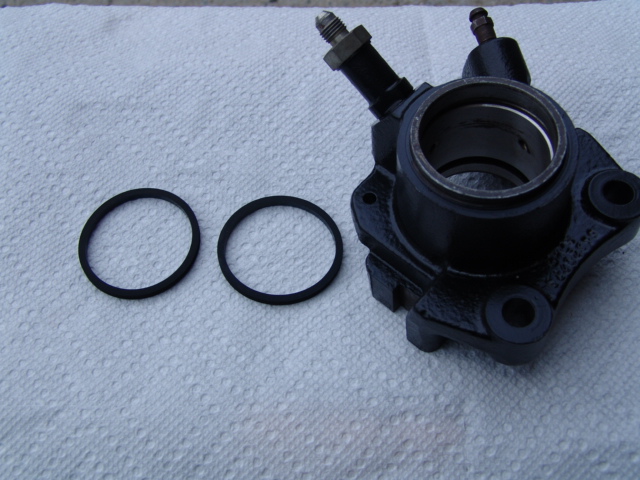
The next step was installing the dust boots, retaining rings, the nylon guide, the handbrake arm spring and sliding the clipper body into the outer part of the caliper assembly. I decided to use the original dust boot retaining rings that are flat rather than round wire rings that come with the seal kit. The narrow ring goes on the inside boot and the wide on the outside boot. I used a very, very small amount of high temp grease where the two parts slide together (disclaimer: the Technical Manual states not to grease the parts). The caliper body slides all the way into the outer part with the nylon part going around the edge of the frame. Note the position of the outer piston slot.
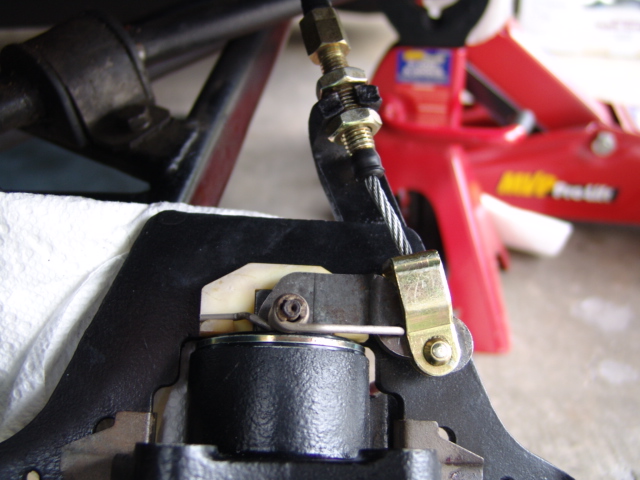
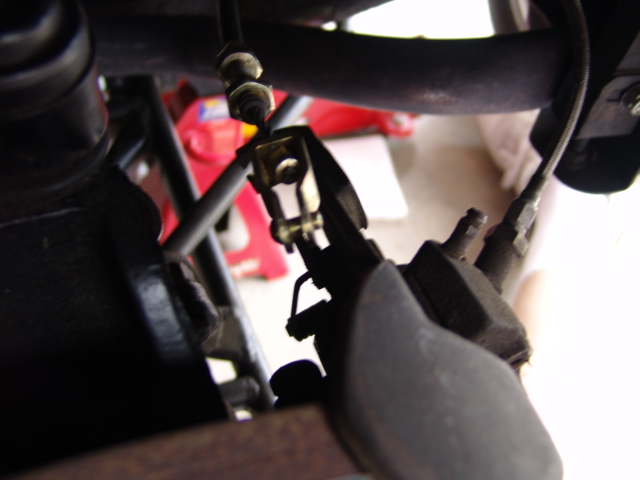
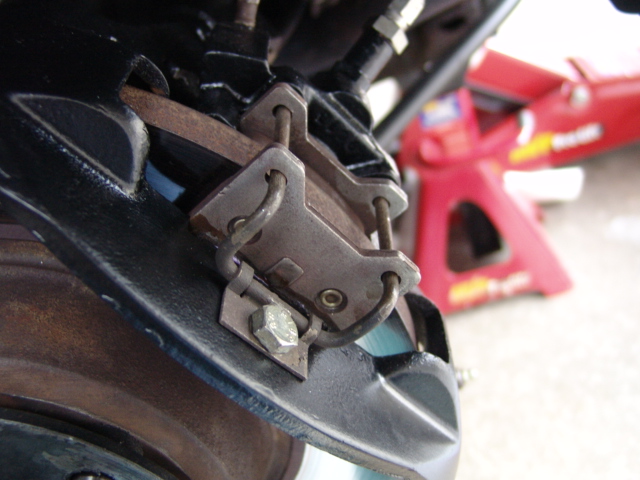
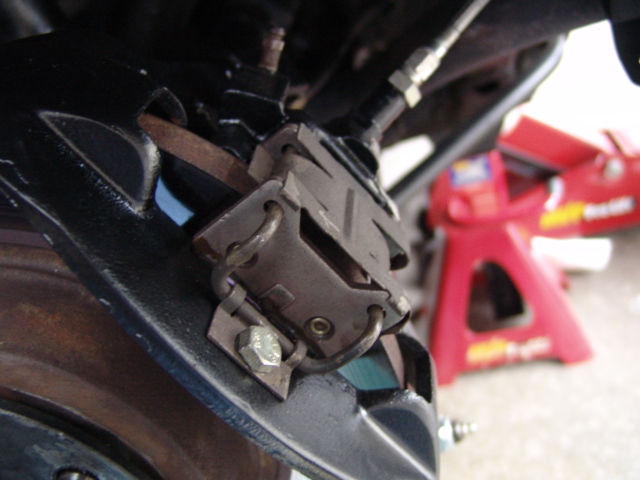
Reinstalling the caliper on the upright. It is easer to attached the handbrake cable to the caliper before mounting the caliper. Connect the clevis on the caliper handbrake arm first, then with the brake cable seal pulled away from the outer cable body, slide the outer nut down the cable so the inner cable can slide through the slot in the mounting arm. Reinstall the cable seal and mount the cable. Note in this view the outer piston has been pushed in and rotated to vertical.
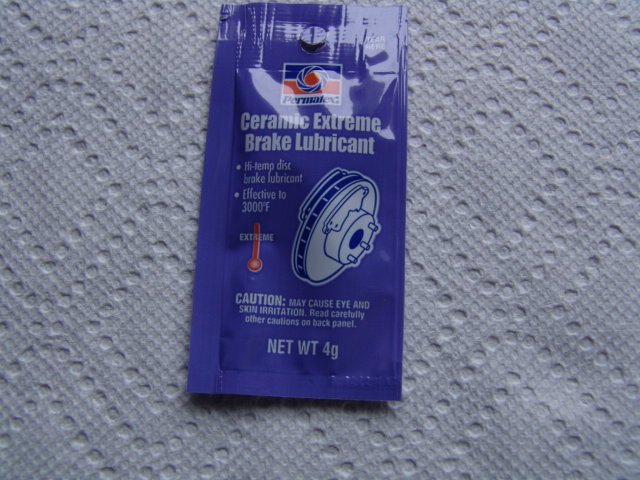
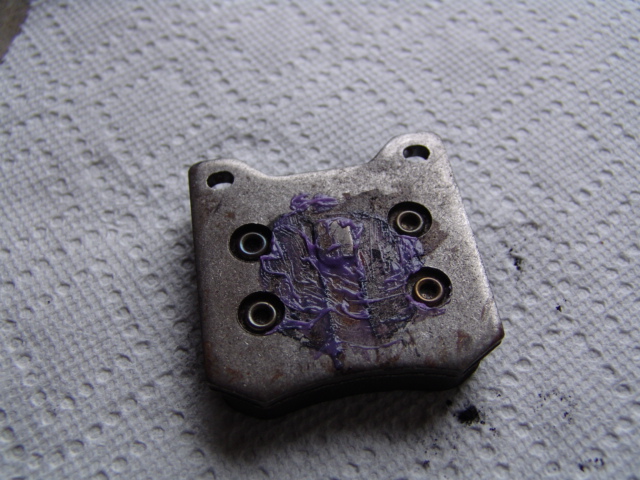
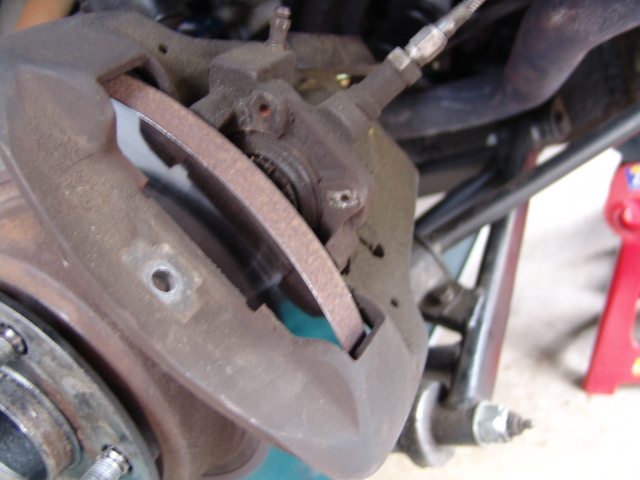
My brake pads were almost new so I decided to reuse them and keep the new ones for next time. I used a small amount of brake lube on the pad backs to reduce brake squeal. The brake line was reconnected and using a vacuum bleeder, I bleed the caliper and checked for leaks. Next, I tested the handbrake operation, made a test drive and everything worked fine. Checked for fitment and leaks again after the test drive.
September 9, 2012
Completed the right side today. It had weeped a small amount of brake
fluid a few weeks ago. The leak looked like it was from around the
handbrake arm on the inner caliper but apparently it was weeping from the
inner piston seal and working its way out on the arm. I used the same
process as the left caliper and it seems to be working fine with no weeping.
The majority of the time on the project was spent cleaning the parts so they
could be painted. After all these years the gunk was really stuck to
the parts and required a lot of scraping and cleaning.
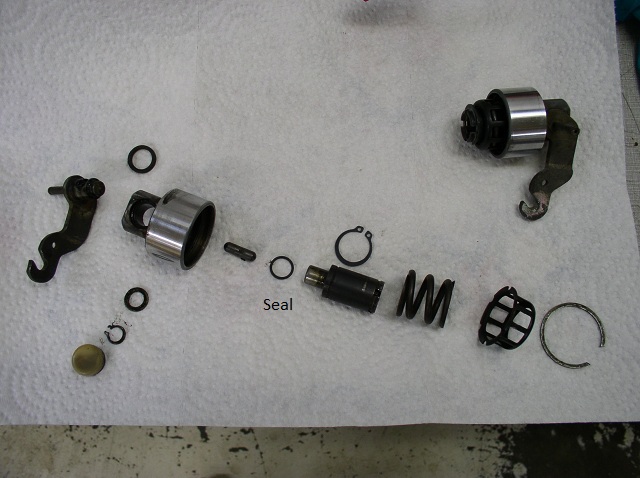
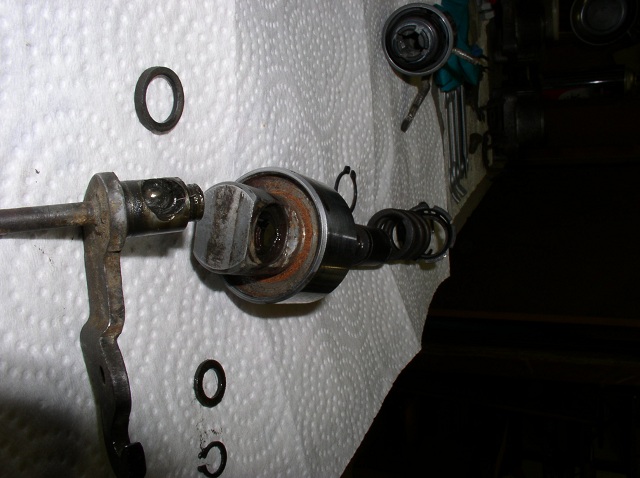
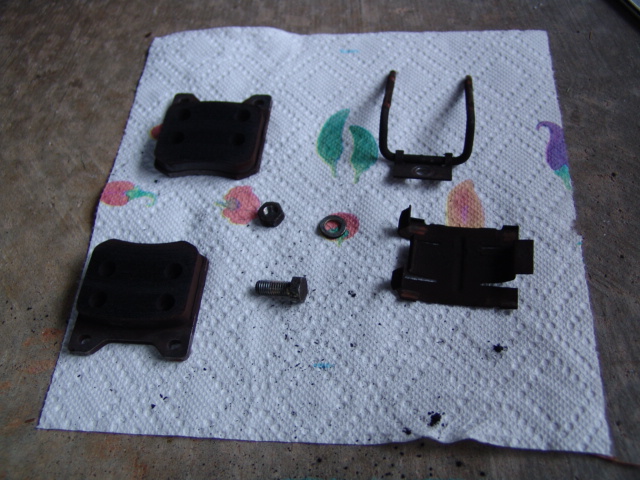
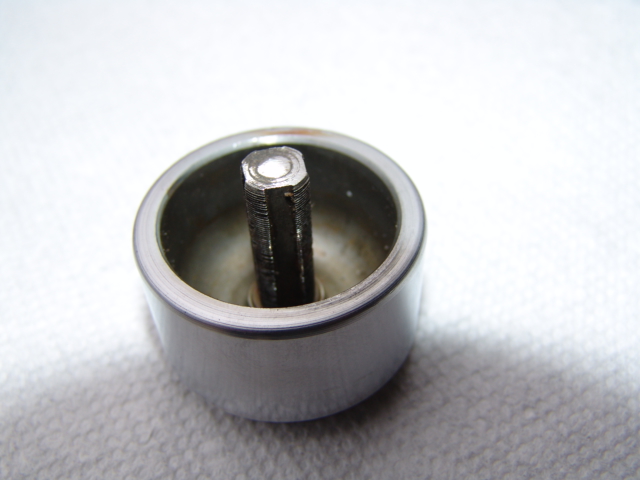
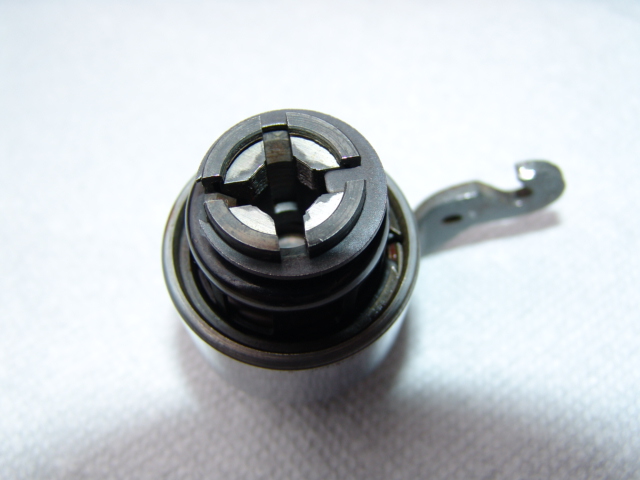
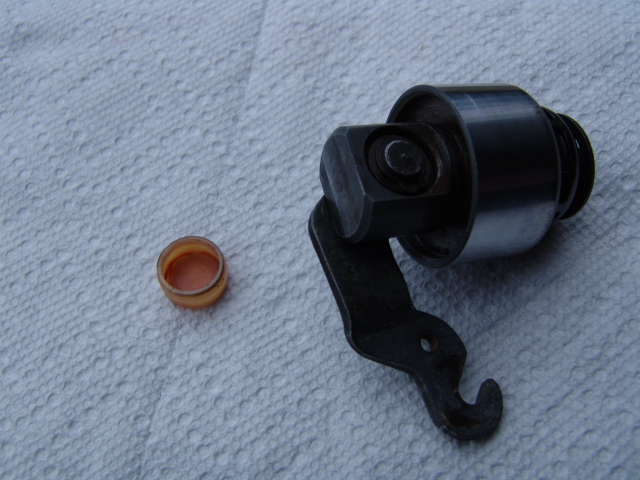
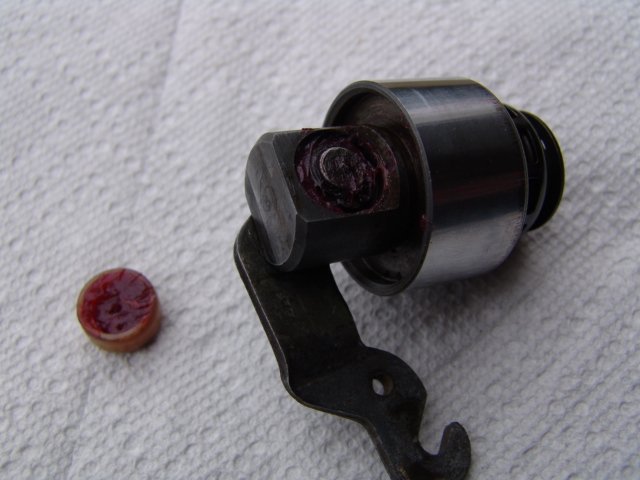
Barry Seib sent in these pictures of a disassembled inner caliper piston. There is an O ring seal labeled in the first picture. The seal fits around the shaft of the part that has the floating teeth and a groove in the hole in the back of the piston. From these views you can see how important the plastic grease reservoir is to keep cam arm greased and the nose of the short push rod that works in the cam arm. It is very difficult to disassemble this part but thanks to Barry we now know how it works.
Front Caliper
To be continued....