Many Panteras are still reliably using the stock Lucas fans. The fans can even work better if the wire size to the fans is increased and relays added close to the fans. See the related page on the fan relay modification for 1971 cars. If you haven't checked out your fan motors it would be a good idea. My fan motors ran OK but the brushes in one motor were the wrong size and the bush holders had been deformed allowing the brush to twist at an odd angle. The other fan brushes were worn down almost to the brush wire lead. The following are some ideas on how to refurbish the stock Pantera Lucas fan motor. Be sure to disconnect the battery while doing this work!
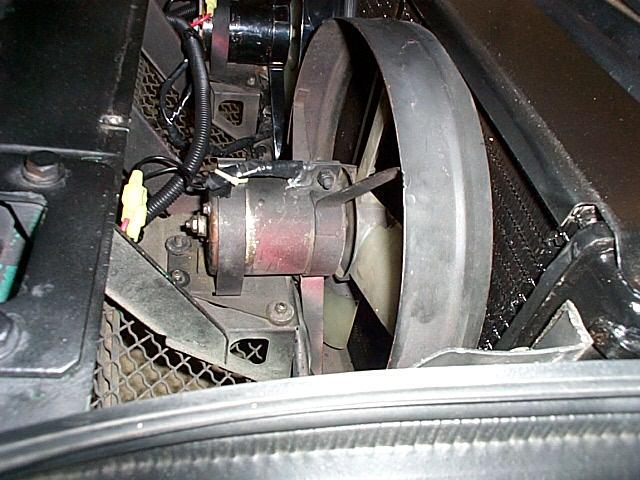
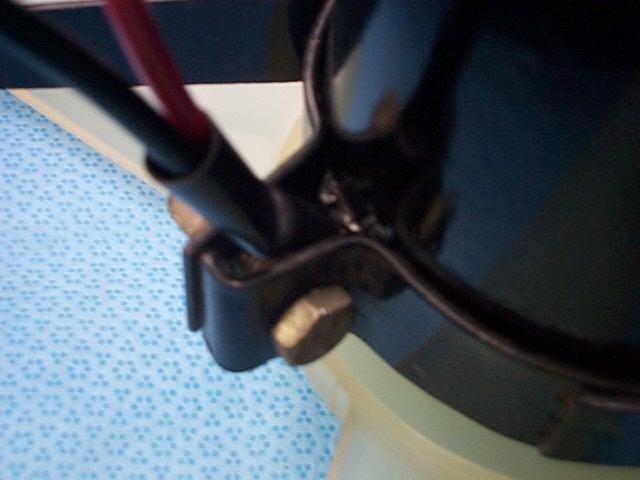
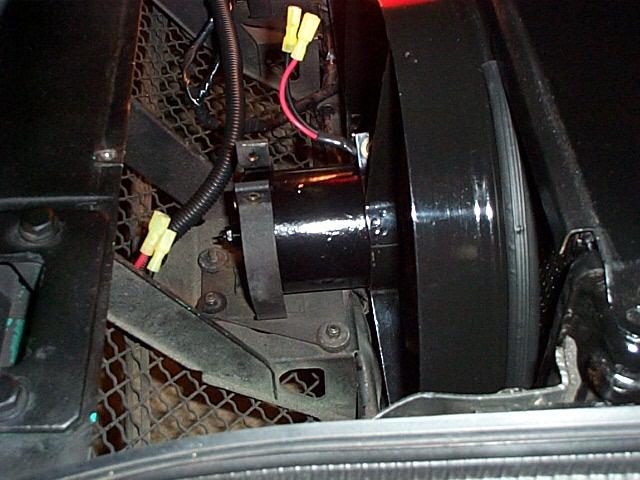
View of the driver side fan assembly. The radiator air deflector has been removed that covers the fan area. This is how my fan system looked before the refurbish work started, not very clean and neat. The fan assembly is held in place with the single strap clamp on the front part of the fan.
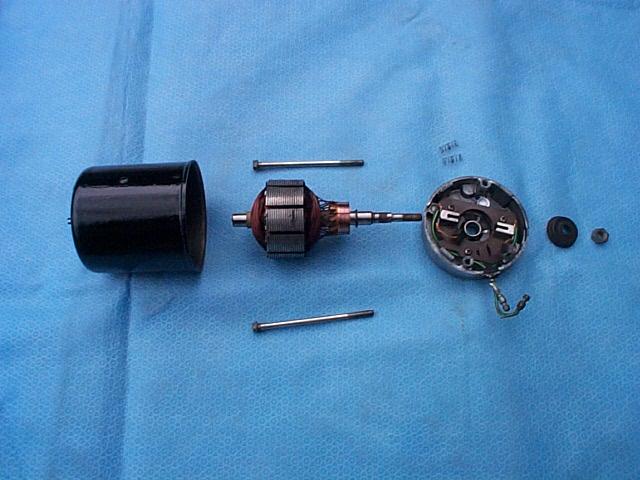
Before disassembling measure the motor shaft end play. The is the view of the fan disassembled and cleaned, the case repainted and the shroud repainted. When disassembling the motor be careful not to lose ball-bearing at the front end of the armature shaft, the shaft spacer washers and the brush springs. The case has very strong magnets so be careful of your fingers as the magnets react on the parts and move them quickly. A spray can of CRC QD Electronic Cleaner was used to clean out the inside of the case. Be careful not to get it on the end bushings of the case. Mag wheel cleaner was used to clean the aluminum back part of the case. I wiped it on with a paper towel and wiped it off with wet paper towels.
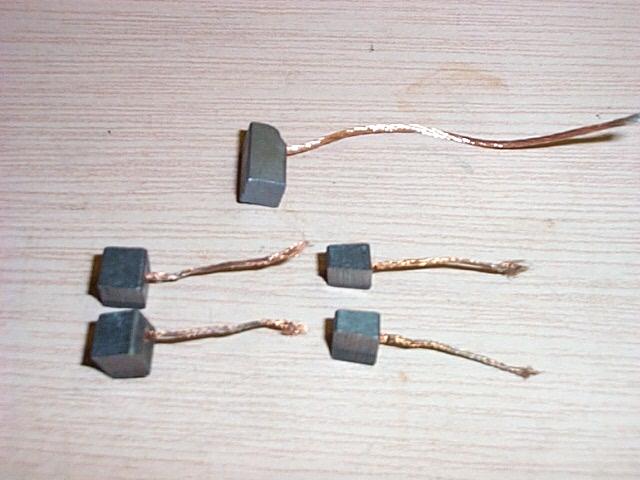
View of one new correct brush at the top of the image and four old brushes that were removed from fan motors. The brushes on the lower right were replaced just in time. Note how close the brush wires are to the working end of the brush. In one of the motors not shown, the wrong brushes had been installed and the brush holders were deformed to make them fit. The brush wires were connected with crimped connecters and wrapped with duct tape.
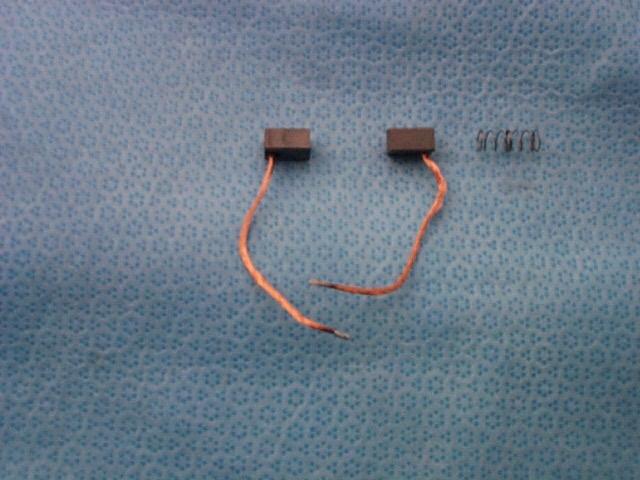

View of the new brushes, a brush spring and the inside of the back case.
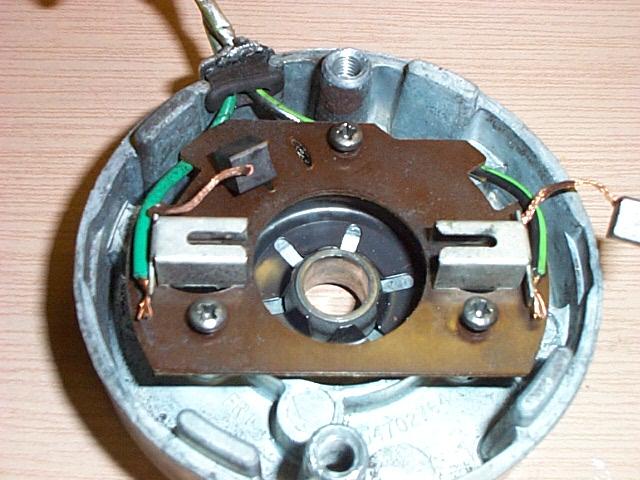
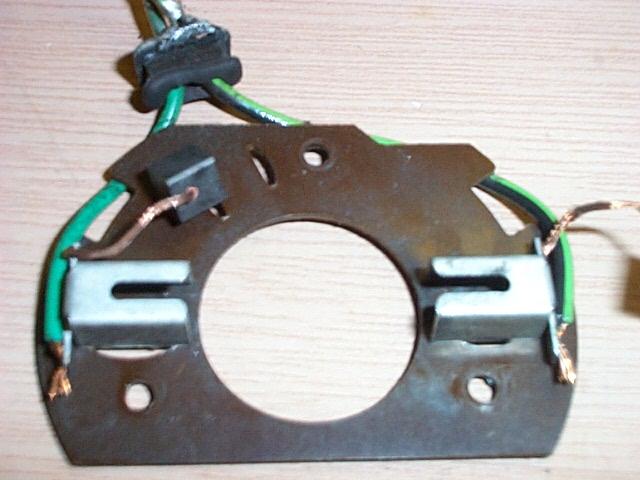
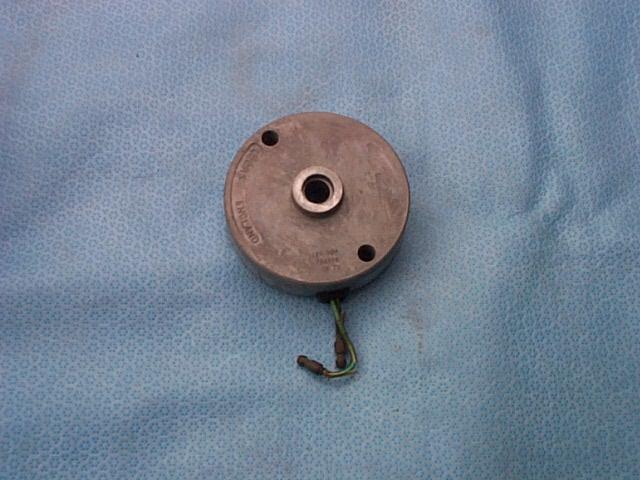
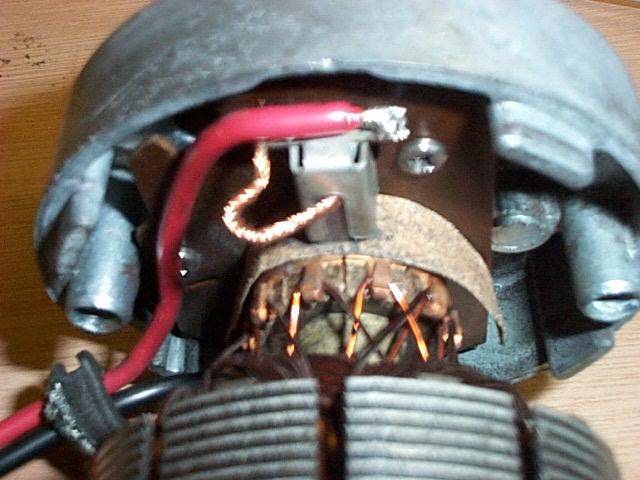
View of the brush assembly before removing it from the back case. The power wires and brush wires are spot welded to the brush holders.
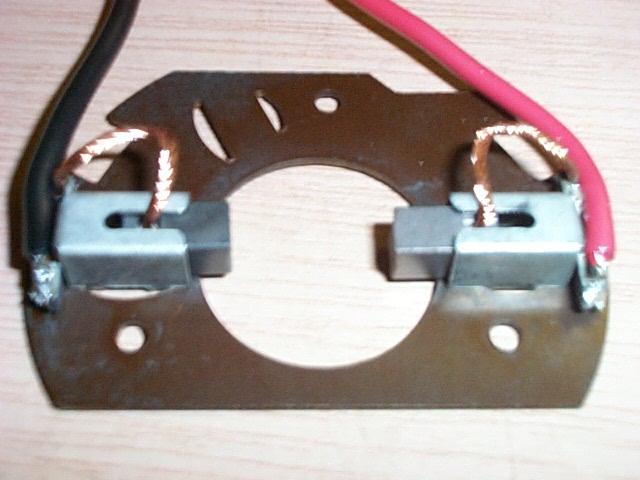
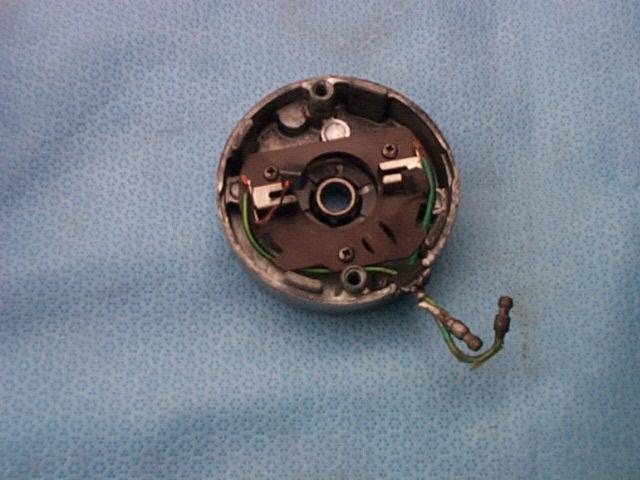
The old power wires and brush wires were cut away and the brush holder tabs sanded shinny clean and then carefully tinned with rosin core solder. The brush wire was cut to length and the very end of the wire tinned. Be very careful not to let the solder flow down the wire more than about 1/8". It flows fast and can damage the flexibility of the wire. The new power wires ends were tinned carefully and the the bush wires and power wires soldered to the brush holder tabs. Note that the red (+ battery) power wire is on the right side so that the fan rotates the correct direction. Inspect the solder joints carefully to make sure the solder flowed correctly. Number 14 wire was used for the new power leads.
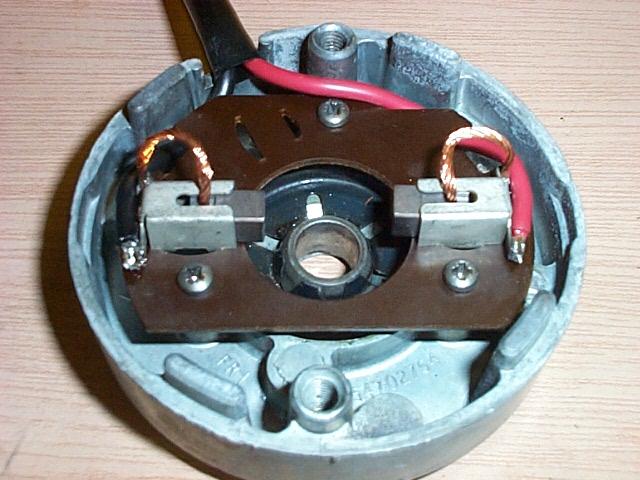
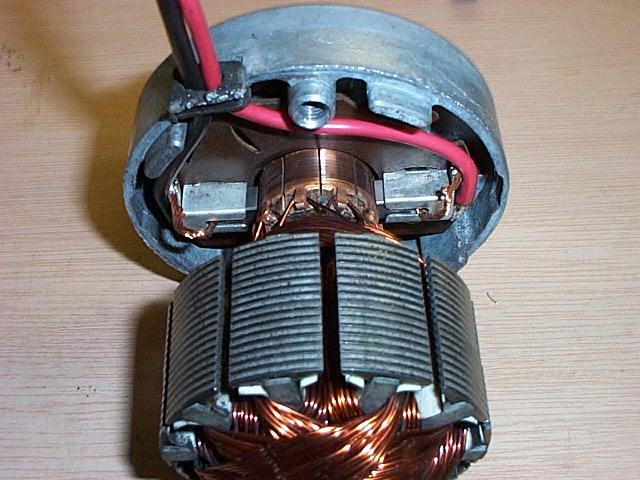
View of the completed brush assembly installed in the end case. Note how the power wires go around behind the brush assembly plate to provide strain relief.
The brushes that I used have the concave in the end, 90 degrees out of phase. Sandpaper was used to reshape the brush end so it fits correctly on the armature. I purchased my Lucas motor brushes from Terry Smith at C&S Auto Electric, Inc in Atlanta. Their phone number is 770-941-0003, ask for the Pantera, Lucas cooling fan motor brushes. The brushes don't cost very much so I expect they will need to charge a small handling fee on each order. Terry is trying to locate some bushes that have the concave in the correct direction so you can skip the reshipping step. Pantera East also has fan motor brushes at 727-381-1151. I expect that the other Pantera vendors also can supply the brushes.
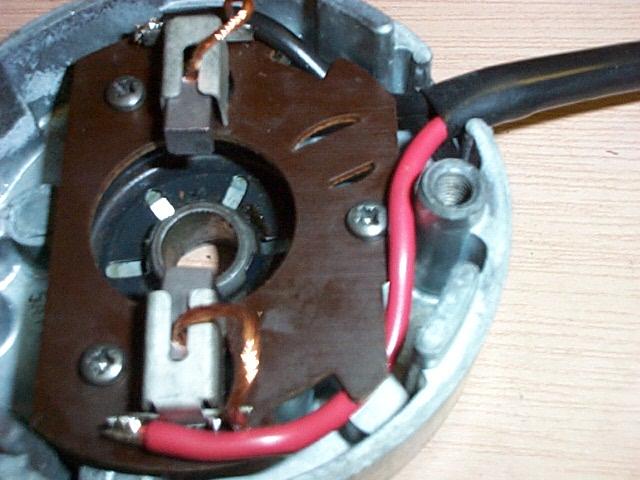
View of the completed brush installation.
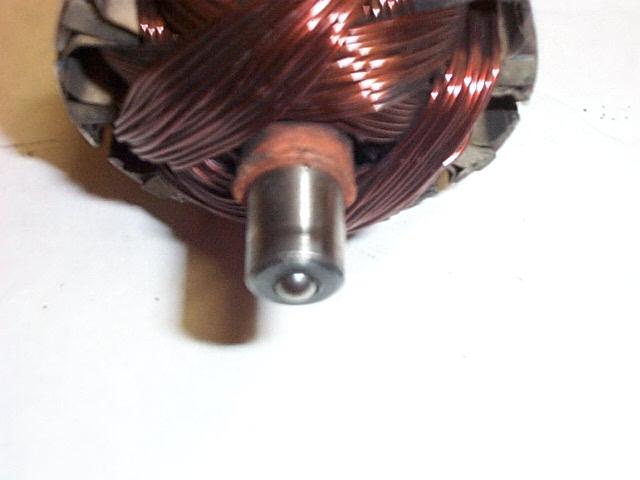
When assembling the case make sure that the ball bearing that is on the end of the armature shaft is not pulled off by one of the magnets or falls out of position before the case is mated with the aluminum back brush housing. After the case is assembled recheck the shaft endplay to make sure the ball bearing is in place.
Before assembling the motor a few drops of 3 and One Electric Motor oil was placed in the end bushings. This is special electric motor oil not the regular 3 and One oil. Note that the steel motor case and the aluminum case have small index marks on them that lineup when the two case halves are aligned correctly. The motor will run in reverse direction if the case halves are assembled 180 degrees out of phase and may not provide full power.
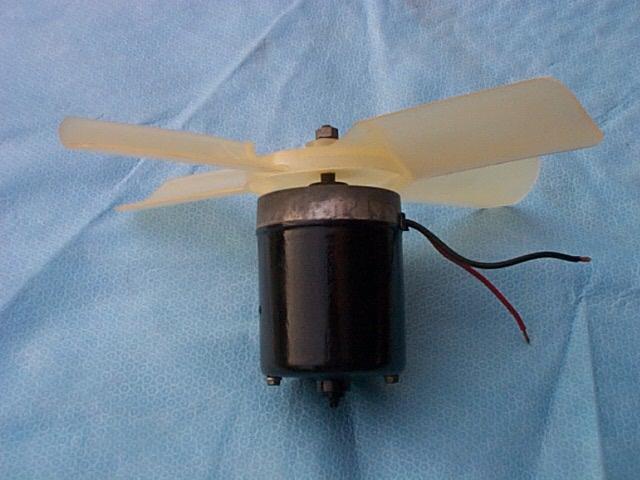
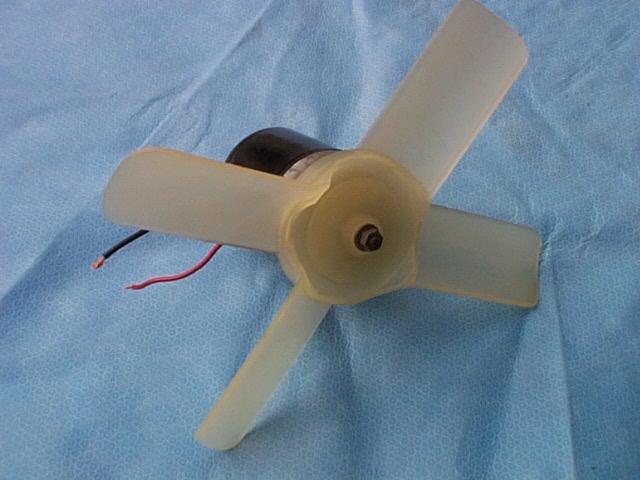
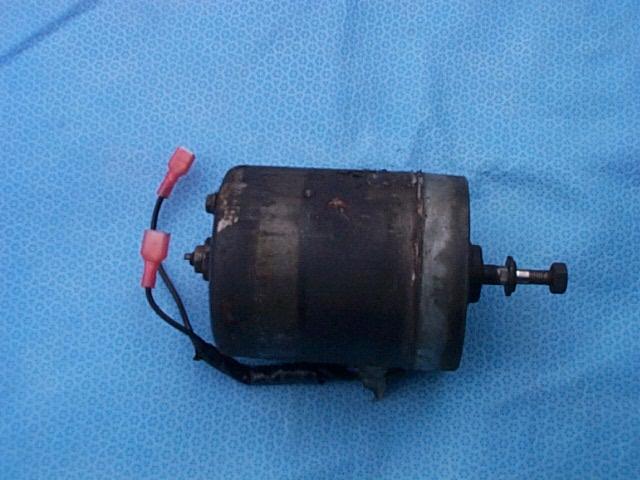
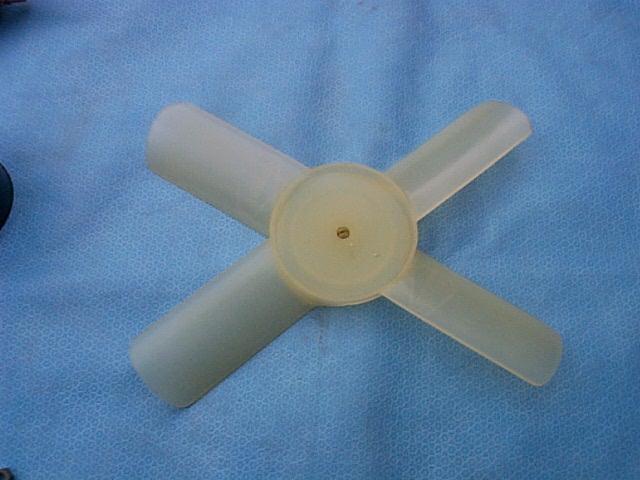
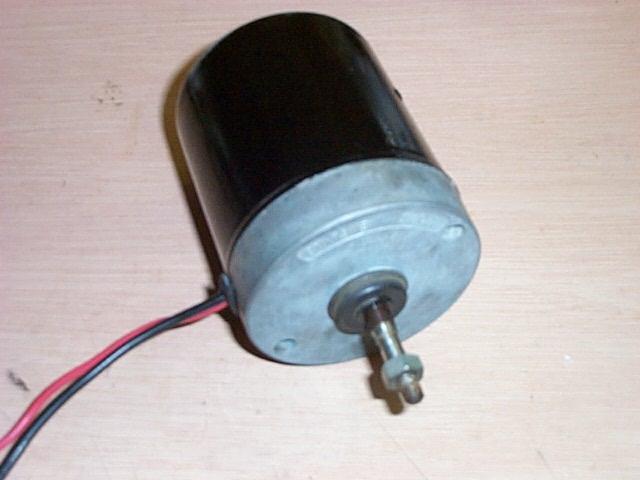
View of the complete and tested fan motor with fan blades installed.
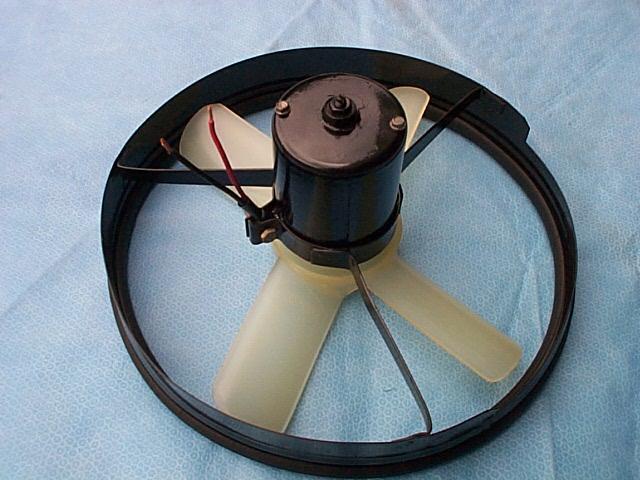
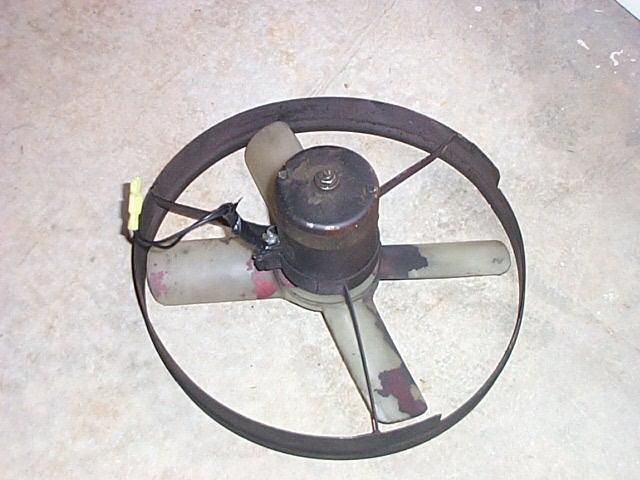
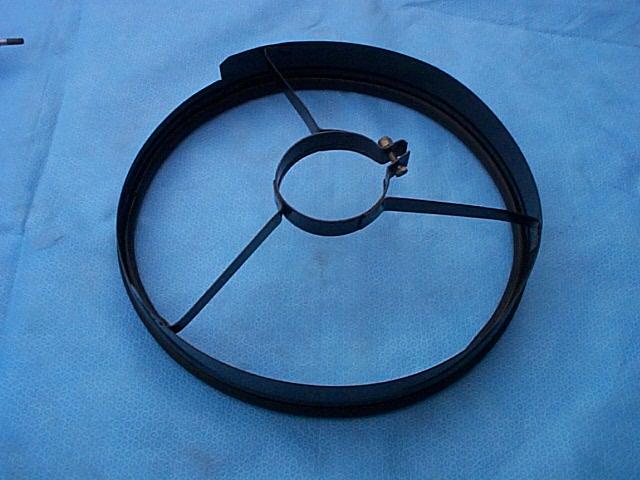
View of the fan and motor installed in the fan shroud. The position of the motor in the fan shroud clamp must be adjusted front-to-back so each fan blade clears the cross braces on the shroud and also has clearance with the front of the radiator. Allow some space for the flexing of the fan blades when the fan is running. The fan blades flex forward when running but under high driving speeds can flex backwards with the high wind pressure. Incorrect adjustment of the fan position can result in damaged fan blades or damage to the radiator core. The fan motor must be positioned so that the power wires are in the center of the clamp opening and are not caught in the clamp. I added a short piece of heat shrink tubing for extra protection of the power wires at the clamp area.
The next step was installing the fan assembly in the car. Getting the strap around the fan and inserting the bolt and getting the nut started with two hands can be a challenge. I used vice grips to hold the strap while I inserted the bolt and stated it into the nut.
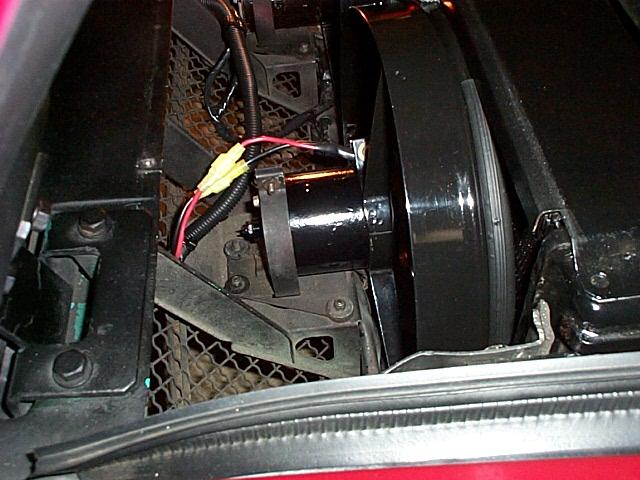
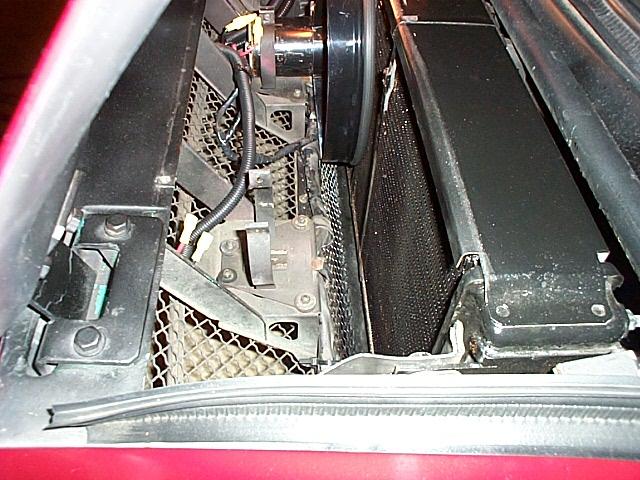
View of the completed installation. Be sure to test the fans to make sure they are working correctly. Then reinstall the radiator air deflector that covers the fan area.