April 13, 2002
As I've been working on the suspension, cooling system and other areas under the car I've been slowly working toward the day that the underside of the car would be completely detailed. Today, I started working on the main area under the car to clean off the dirt and prepare to re-spray the underside of the car with a light coat of rubberized undercoating. I want the car to have a uniform black and clean look to the underside, like it looked when it was new. Over the next few weeks I'm going to report on my cleaning and detailing work.
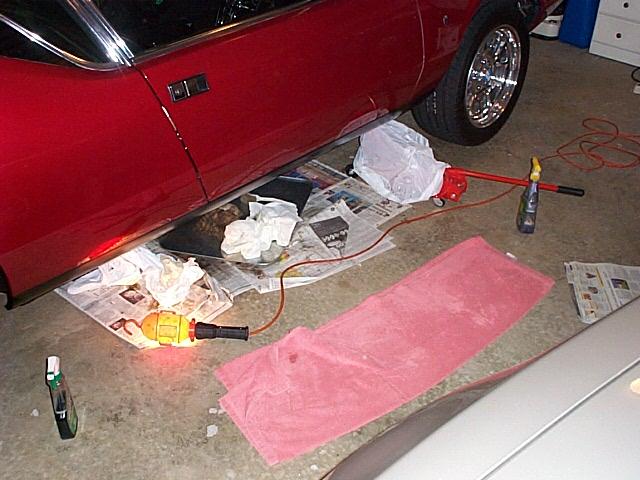
I thought about just taking the car to a shop and having it steam cleaned or pressure washed but I was concerned about all of the muck getting blown around on the clean suspension and wheels. Also, some people that I know, have had problems blowing the undercoating off when using pressure washers. I decided to just scrub it clean myself. I started on the passenger side and the first step was to cover the jack and jack stand with a plastic bag and lift the passage side of the car. I knew this was going to be a messy job so the plastic bags would keep the muck off the jack and jack stand. I laid out a bunch of newspapers on the floor and used a old drip pan to help catch the muck.
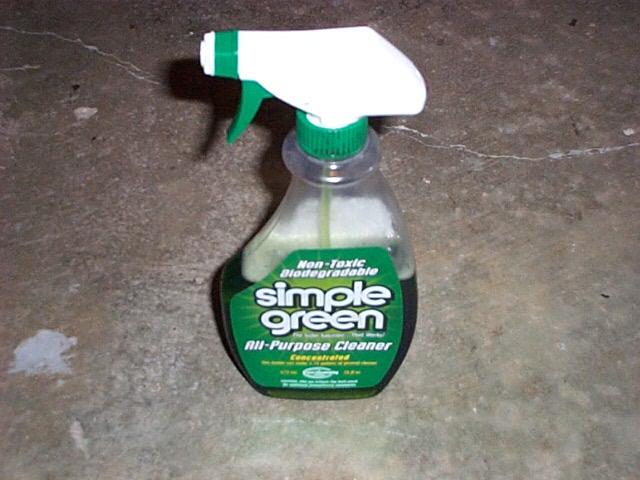

I used Simple Green cleaner, a spray bottle of plain water and a scrub brush. I taped a plastic bag over my right arm and used a plastic latex glove on my hand. This was going to be a very messy job!
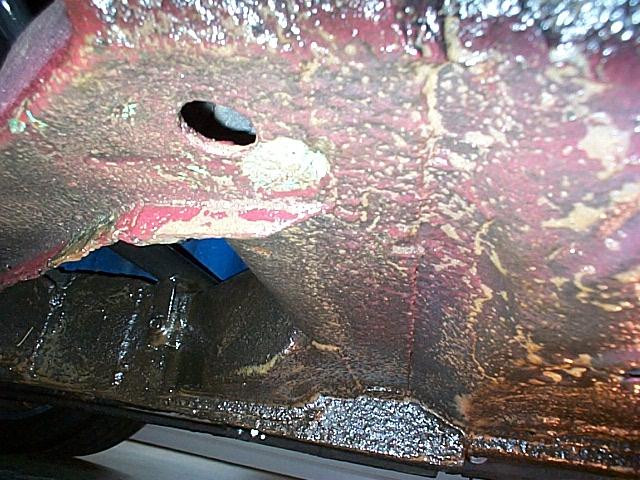
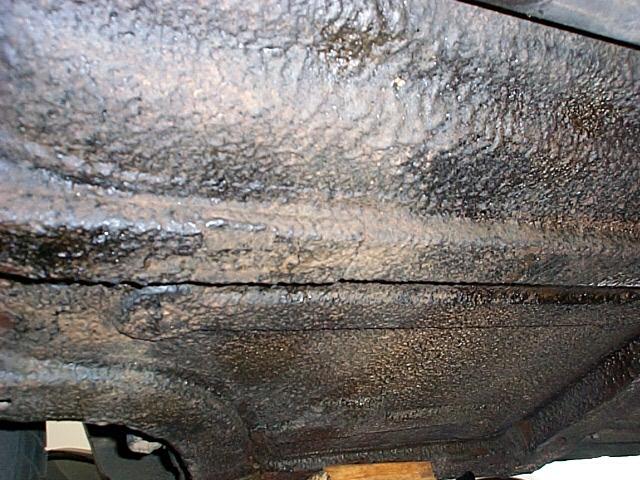
View of the aft passenger side area showing the foam from the Simple Green and scrubbing
I started at the front part of the passenger side and sprayed about a two foot section with Simple Green and then scrubbed the area with the brush keeping the drip pan positioned under the area. There is some red over spray under my car that covers some of the undercoat but the scrubbing removed some of the paint and exposed the black undercoat. It still as a red tint after the cleaning but the new undercoating will cover the red color.
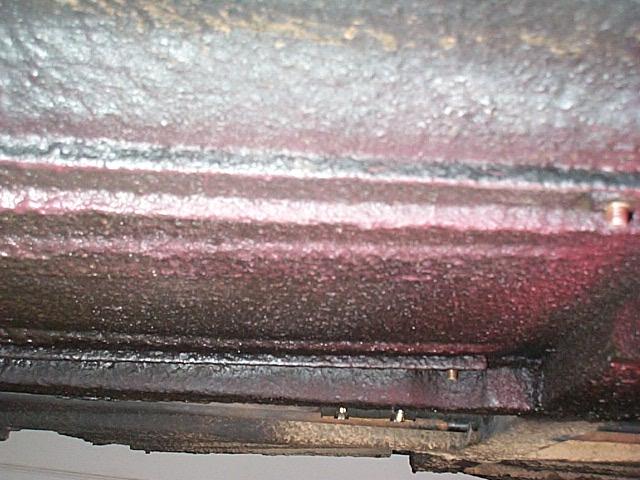
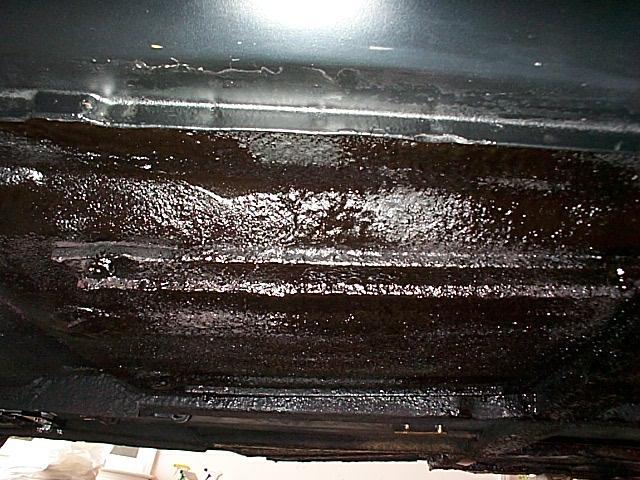
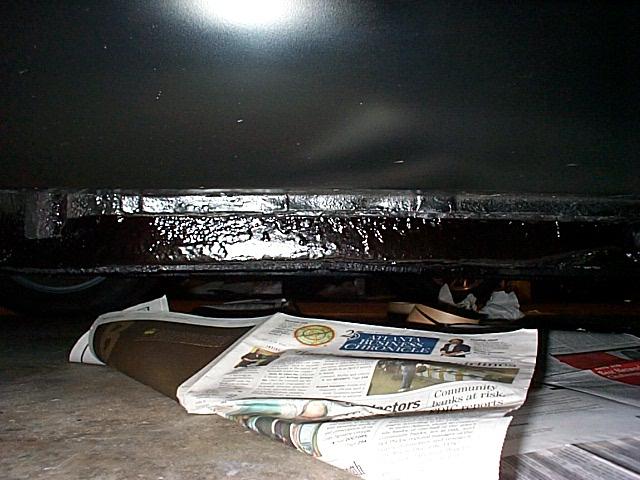
View of a completed area that is still damp. An un-cleaned area on the driver side of the car can be seen in the lower part of the image
After scrubbing an area with the Simple Green I sprayed it with the water to remove the Simple Green and muck. Next I blotted the area with paper towels to remove the water.
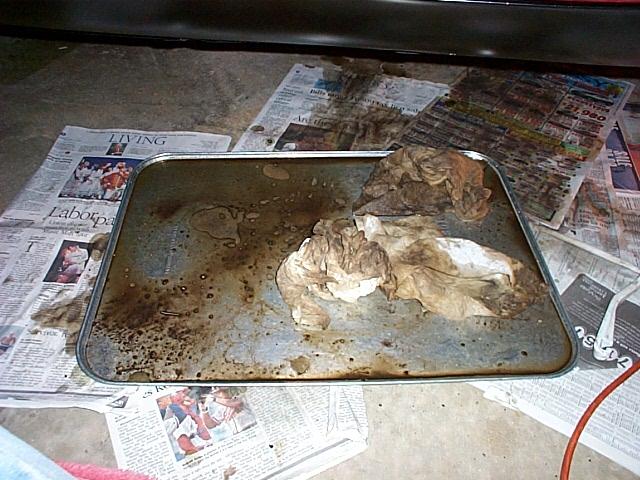
View of the muck that collected in the drip pan
Next will be the driver side, the center tunnel and then revisit the cleaning previously done to the front and back areas. This is a super messy job!
April 14, 2002
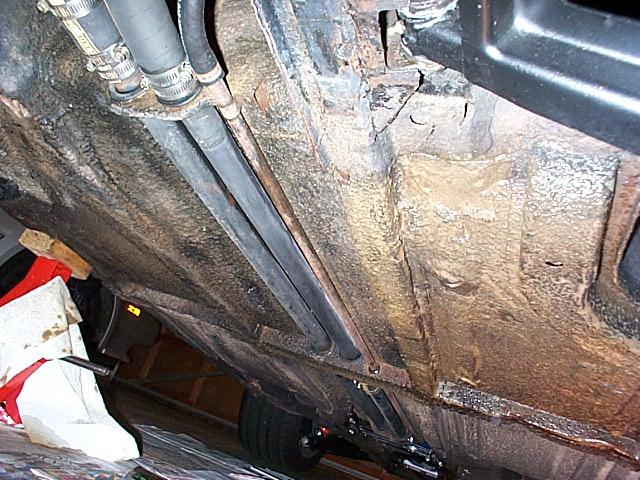
View of the underside showing the completed passenger side cleaning and the un-cleaned driver side
Undaunted by the extreme mess I started in again today to attacked the driver side of the car. The cleaned passenger side shows much less Oklahoma dirt color that the un-cleaned driver side.
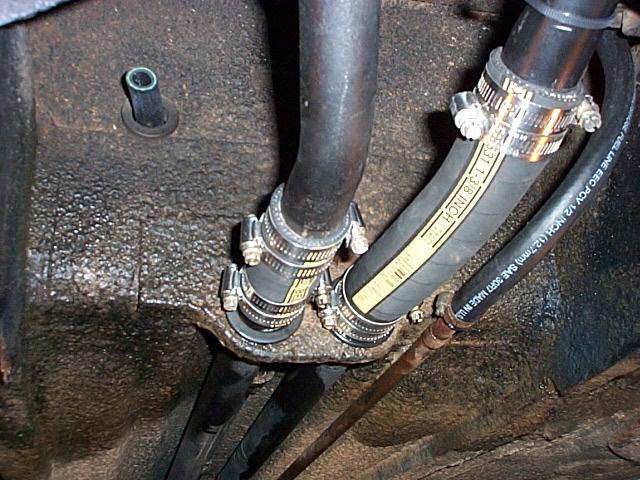
View of the front part of the car after cleaning with mineral spirits
After completing the cleaning of all the underside with Simple Green and water the next step was cleaning the area with mineral spirits (paint thinner). I wanted to make sure that the old undercoating was as clean as possible so the new undercoating would adhere well. I found by putting the mineral spirits in the cleaned out and empty Simple Green spray bottle I could spray a small area and then blot with paper towels to get it clean because the old undercoating was too rough to rub it with a rag.
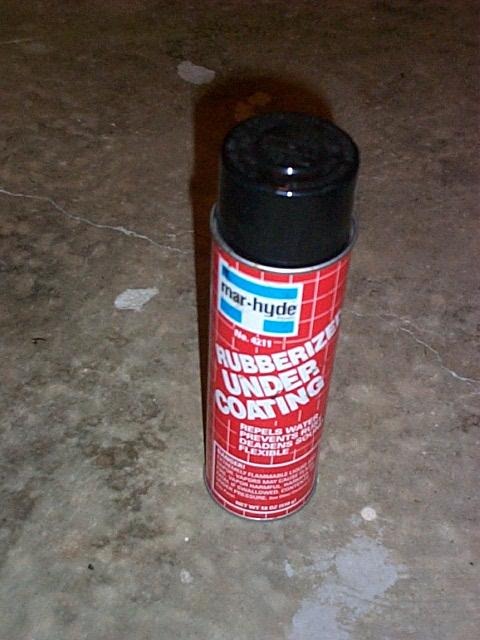
I decided to use Mar-hyde brand undercoating. It is available in a regular and a paintable type. If you plan on painting over the under coating you well need to use the paintable type. I used the regular type No. 4211.
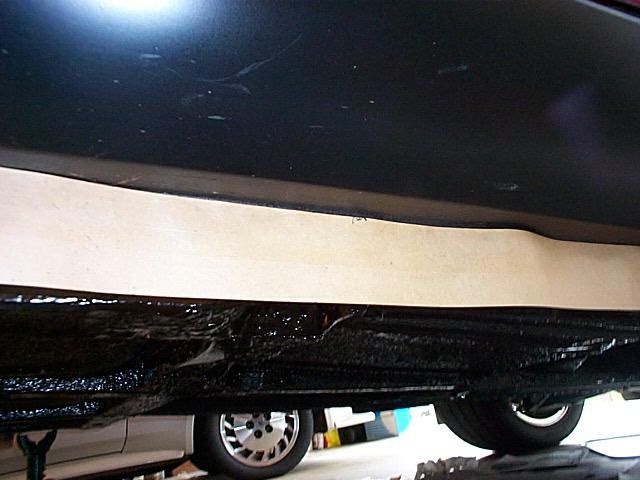
The Mar-hyde brand undercoating does not over spray very far so it was not necessary to cover up the car just the floor area around the car. I used painters masking paper that has the sticky strip on one side to mask off the outside edge of the rocker pitch weld to keep the undercoating off the outside of the rockers. My rockers were painted last year including the pinch weld area so the masking paper stuck pretty well on the newly panted pinch weld.
View of the wet undercoating on the passenger side. When dry the undercoating has a dull black color. Yes, I saw the two Georgia clay streaks thrown up by the wheel on the rocker panel and cleaned it off after this image was taken.
The undercoating is a little messy and sticky and requires mineral spirits to remove it, so be careful where you spray it because it is difficult to clean up. Especially if you get it in you hair! Make sure that the undercoating is completely dry before driving the car because any small sand that is thrown up by the tires will stick to the undercoating.
April 15, 2002
View of the wet undercoating on the sub-frame area used to support the car during the spraying of the main underbody
The mission for today was to undercoat the areas of the sub-frame where the jacks and jack stands were placed to spray the main underbody. I placed a wood block under the outside of the lower front A arm (under the ball joint area) and using my small floor jack, I jacked up one side of the car at a time to gain access to the frame area for spraying the undercoat. I used the paper painters tape, to tape off the edge of the rocker pinch weld. This is also a good time to make sure you did not miss any of the other parts of the underbody.
Next follow up work on the wheel wells.