July 12, 2002
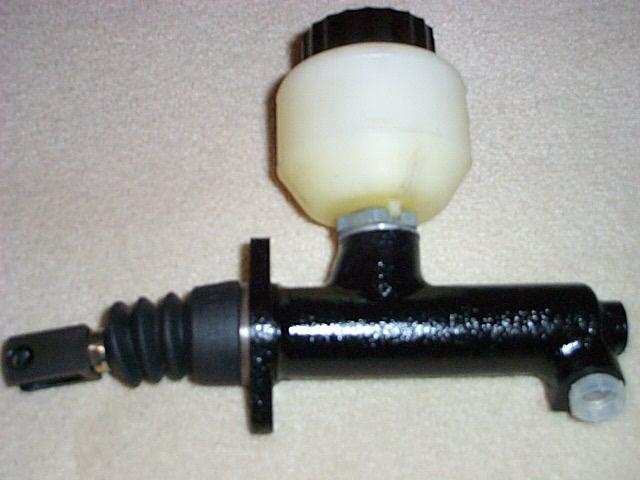
When I bought my Pantera back in 1989 one of the first things that failed was the clutch master cylinder. It wasn't the type of failure where the brake fluid runs out the back of the cylinder and down onto your feet, it was the type of failure where the fluid was bypassing a little in the cylinder causing reduced clutch release throw. The simple solution for me at the time was call my favorite Pantera vendor and just buying a new one. I installed the new master and everything worked great so I put the old master in storage.
Recently one of my local Pantera buddies had his clutch master fail and he didn't want to buy a new master if the old one could be rebuilt. This prompted me to get my old master out of storage and see if I could rebuild it as practice for helping my friend with his master. A lot of people will say that it is not worth messing with trying to rebuild the cylinder and they are right if the cylinder bore in not resurfaced or honed. Often the cylinder fails because the seals go bad but also there is usually some pitting in the cylinder cased by moisture collecting in the cylinder. Brake fluid is a moisture magnet and that is one of the reasons it is so important to keep fresh clean brake fluid in the Pantera hydraulic systems. I change the clutch system fluid twice a year and the brakes every year.
The first step was removing the clutch pushrod from the cylinder.
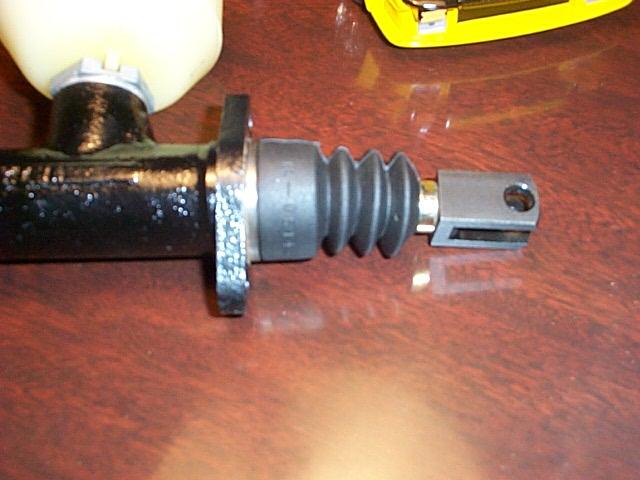
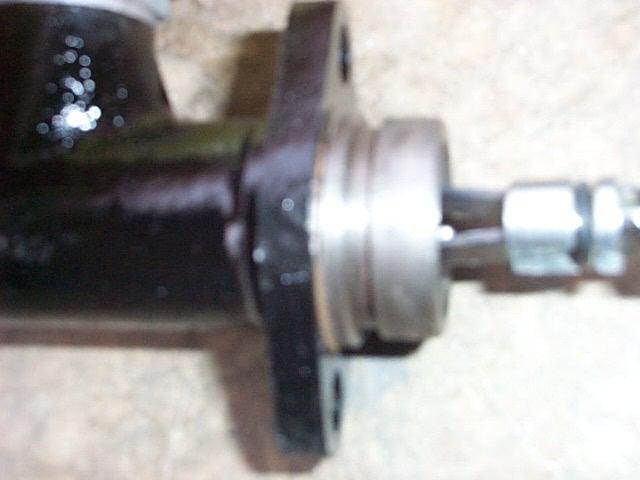
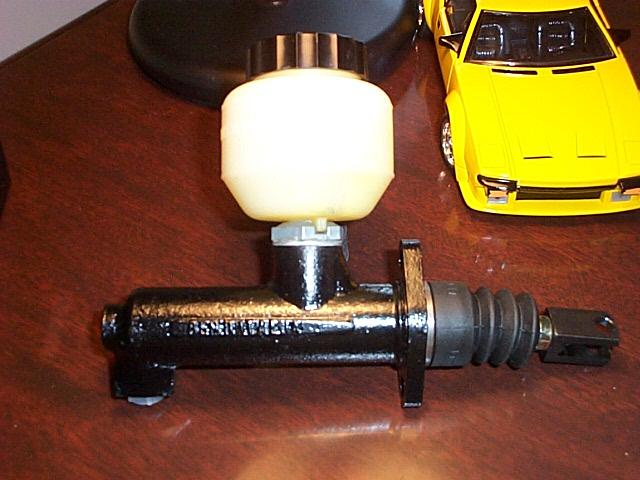
View of the clutch master and the rubber boot covering the pushrod. This boot and pushrod is for the later cars with the clutch effort reduction linkage.
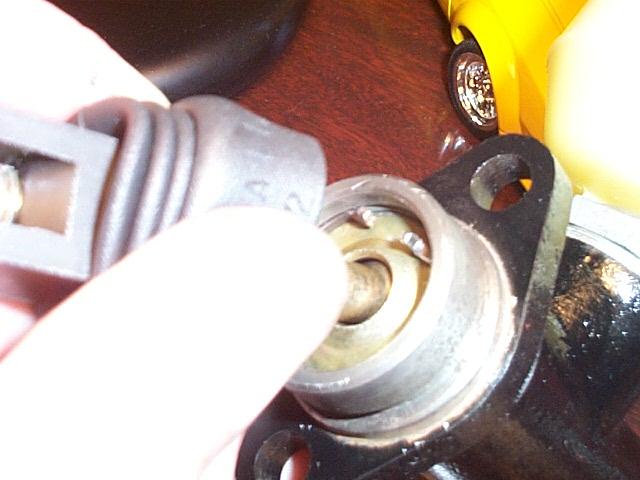
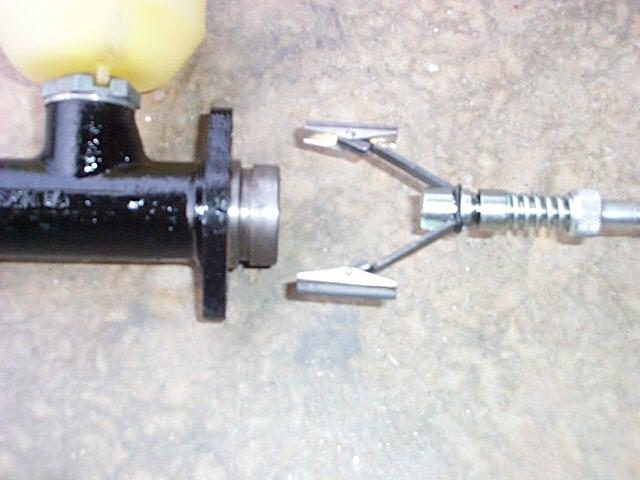
The rubber boot must be pulled back so that the retaining clip can be removed that holds the disk in place.
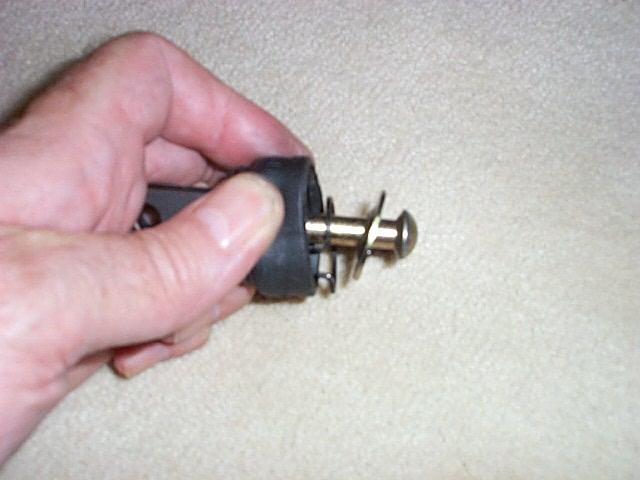
View of the pushrod, disk and clip.
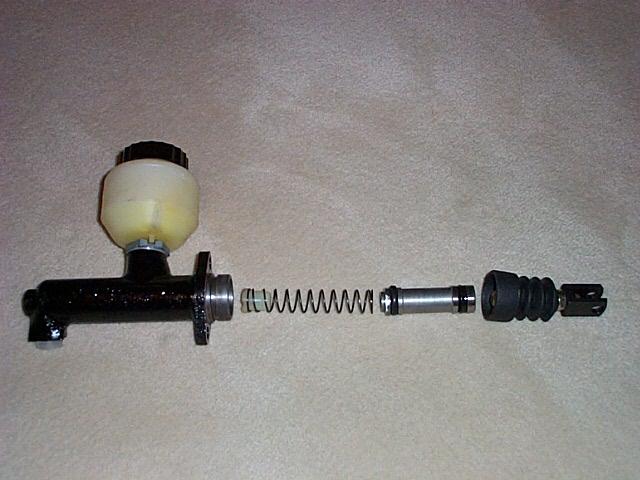
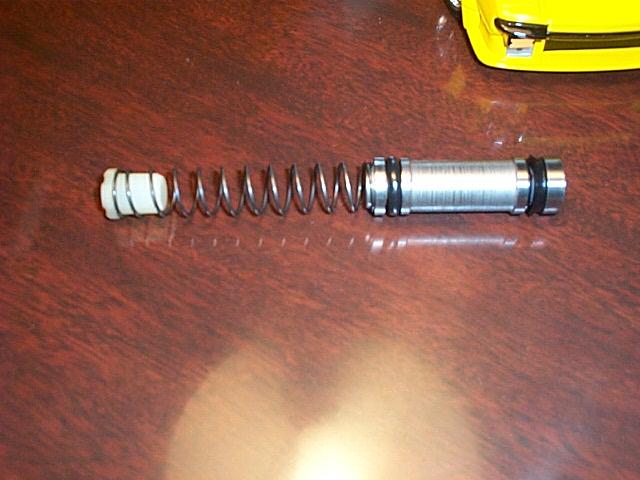
Next the piston, spring and plastic end piece can be removed. Caution: Do not take it apart on your office carpet like in this photo. It will be messy.
(before image - Insert a before image when available)
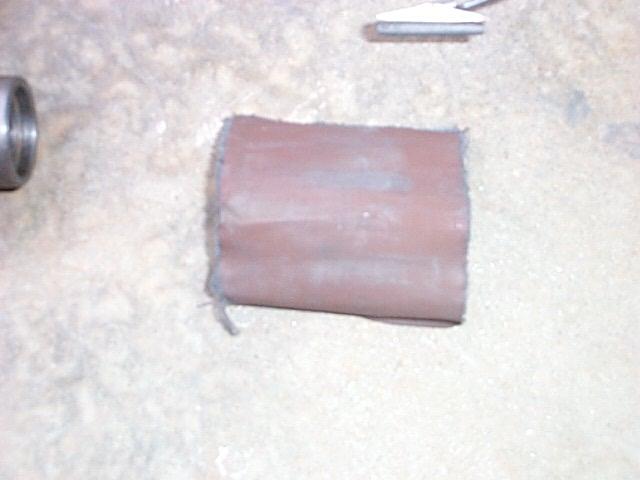
My cylinder had some pitting so it was necessary to hone the bore.
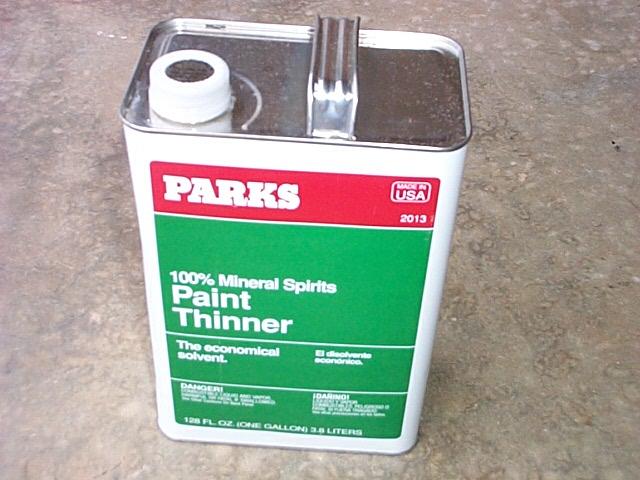
Mineral spirits will be used as a lubrication for the honing process because oil would reduce the cutting action of the hone. Caution: Mineral spirits are super flammable so be careful and use it in an outside area with lots of ventilation.

The hone I used has small fine grain stones and can be found in your local auto parts store.
View of the hone inserted into the cylinder. I used a small spray bottle to keep the bore of the cylinder wet with mineral spirits and moved the hone up and down the bore with the drill turning the hone. I stopped after a few seconds of honing to check the progress. My cylinder pitting was very mild and it didn't take much honing to remove the pits. You will need to examine the bore very carefully with a bright light to make sure all the pits are gone. The pits will show up as very small dark spots or lines in contrast to the silver of the honed area. Do not run the hone very long without stopping and checking the progress of the honing. You want to hone just enough to remove the pits and no more.
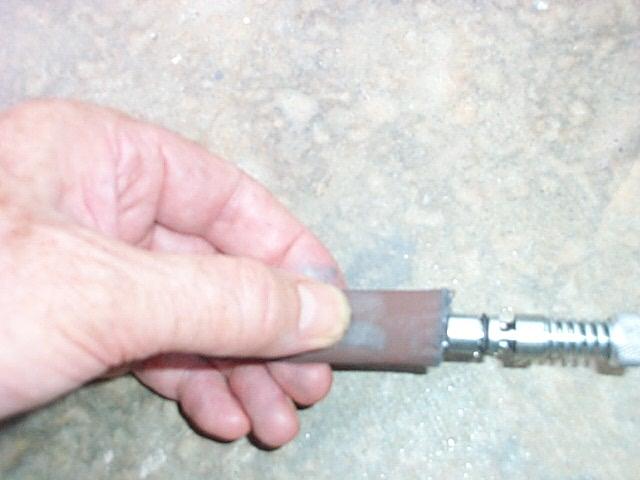
After the honing was completed I wrapped a piece of Crocus Cloth around the hone, inserted it in the bore and ran the drill to polish the bore. Mineral spirits were used for lubrication.

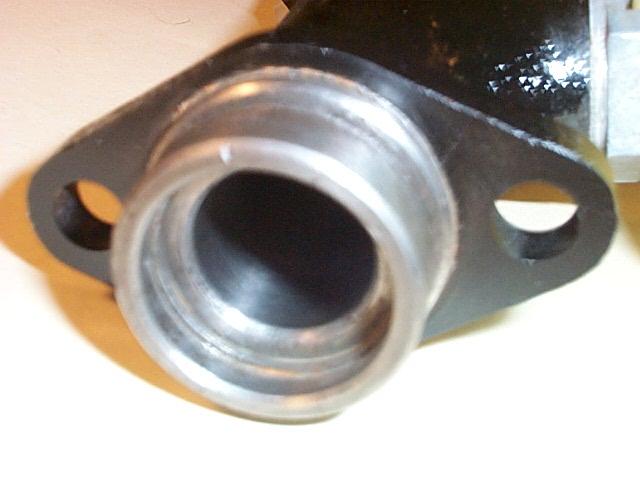
View of the honed and polished bore of the master cylinder. The bore must be perfectly smooth and polished for the new seals to work correctly. If the bore is not fully polished the seals may be damage and fail. I've ordered new seals to be installed next.

It is a good idea to remove the reservoir before the hone work because the area under the reservoir needs to be cleaned.
July 16, 2002
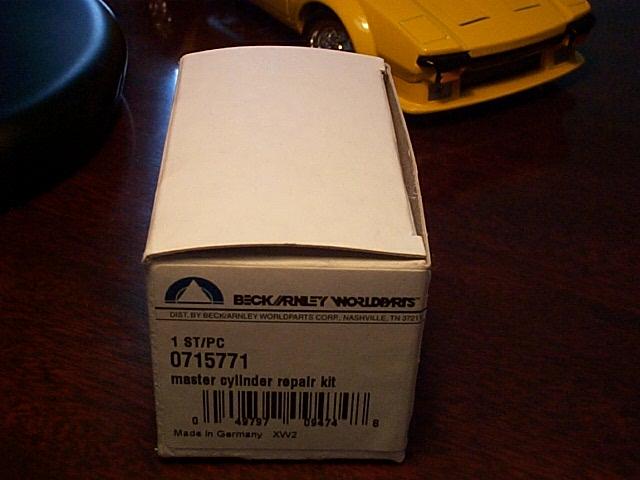
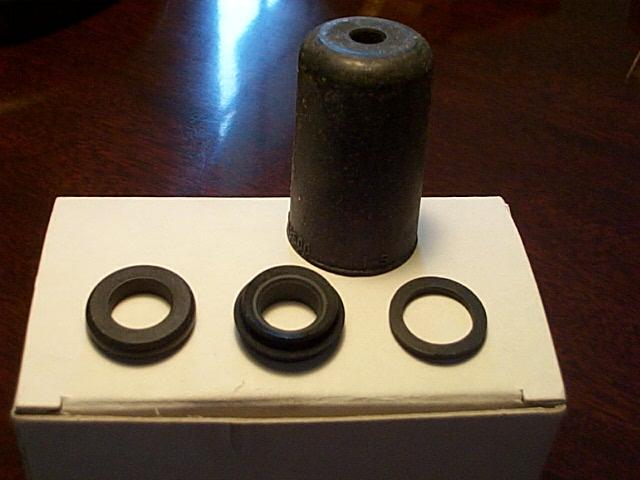
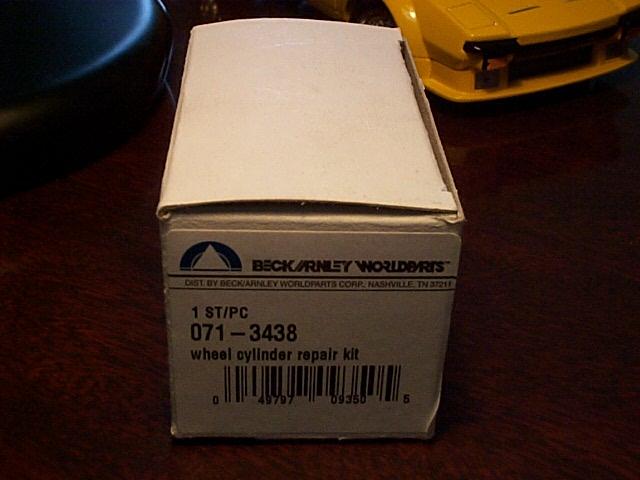
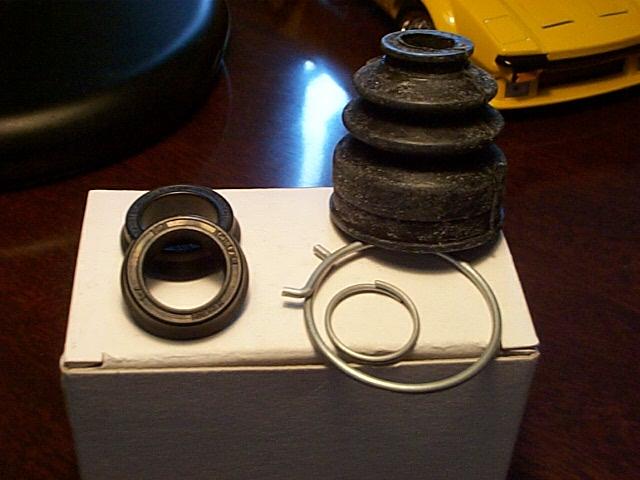
View of the seal kit.
The kit can be ordered from your favorite Pantera parts vender. The boot and O ring on the right are not used.
The old O ring seals on the cylinder piston must be removed next. I was able to work the front seal off but the back was so hardened with age I had to very carefully cut it off. Be careful not to make any cut marks on the piston or piston grooves.
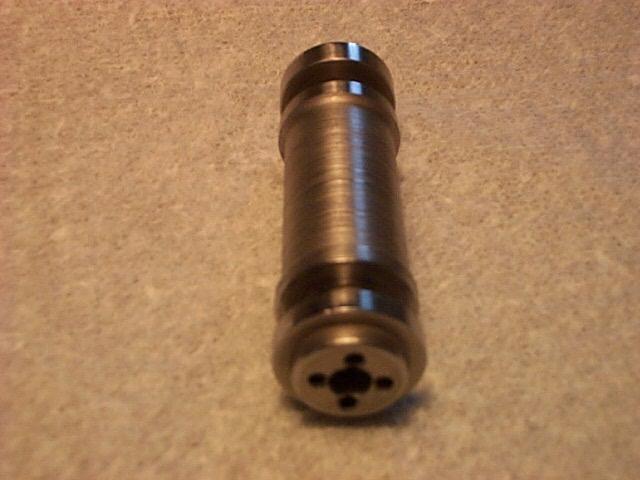
After the seals were removed I polished the piston and made sure there were no contaminates in the bleed holes in the front part of the piston. It is extremely important that the grooves for the seals are clean and polished. Make sure there is no pitting on the vertical surfaces of the grooves where the O rings seal when pressure is applied to the piston. The front O ring works like a check valve so it is very important that it seals well on the back side of the groove.
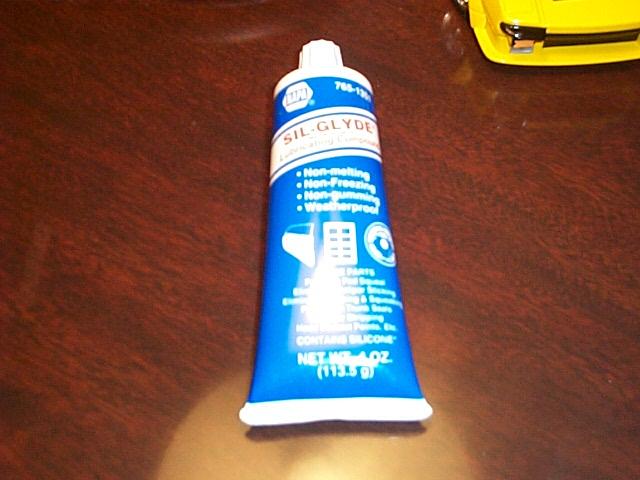
The O rings can be damaged when slipping them over the piston and into the grooves so I used NAPA Sil-Glyde brake assembly lubricant lightly on the O rings and piston to make the O rings easer to slide onto the piston.
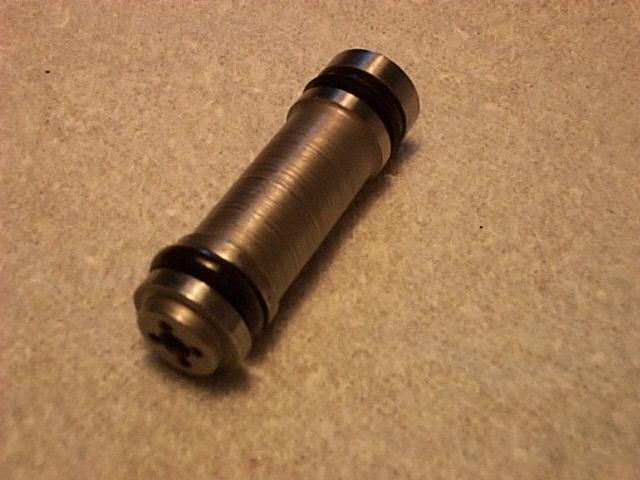
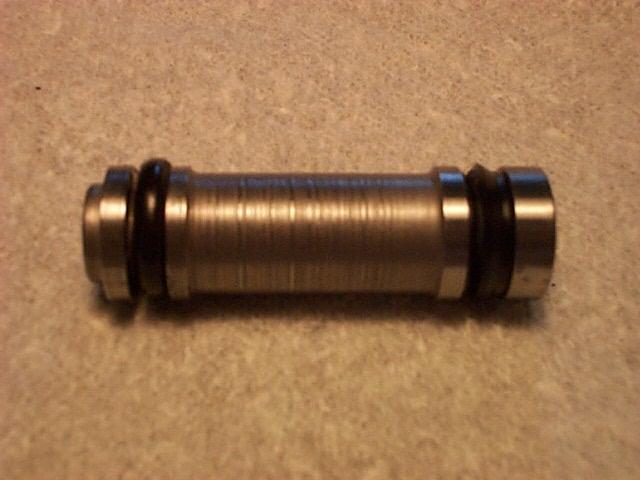
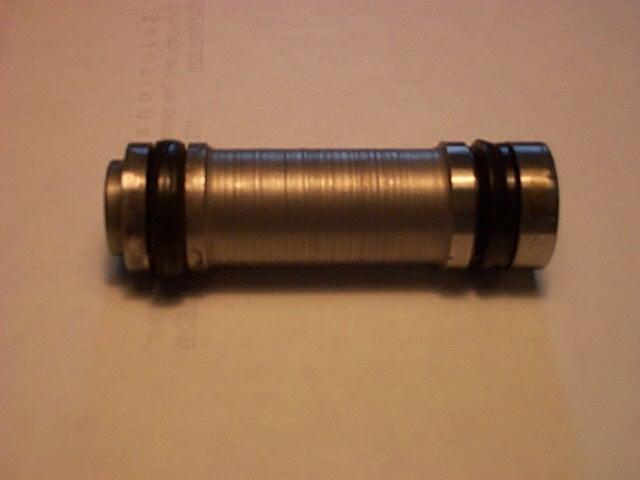
The O rings were installed on the piston. Notice that the front seal is a O ring and the back seal is directional with the open part facing forward.
I lubricated piston and the cylinder bore very, very lightly (almost none) with the Sil-Glyde and inserted the spring assembly and position into the bore. I lubricated the bore because this part may be not be used for a long time and I didn't want it to corrode. Then the pushrod, retaining washer and clip were installed and the boot slid onto the cylinder.
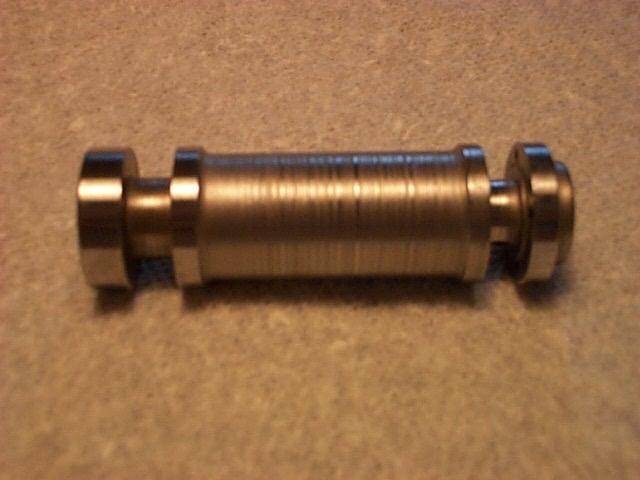
View of the completed project
While I was ordering parts I decided it would be a good idea to have an extra clutch slave seal kit on hand for spares. This part can be ordered from your favorite Pantera parts vendor.
It's hard to tell if it was worth the effort to rebuild the master. It didn't cost much in money but it took some time to go though the process. I think the process I used was good and the cylinder should work and be reliable but I won't know how my cylinder works because this is just a spare part and it may not be used for years.
After completing the rebuild of my cylinder I helped a Pantera buddy rebuild his cylinder using the process on this page. He has it installed in his Pantera and it works great.