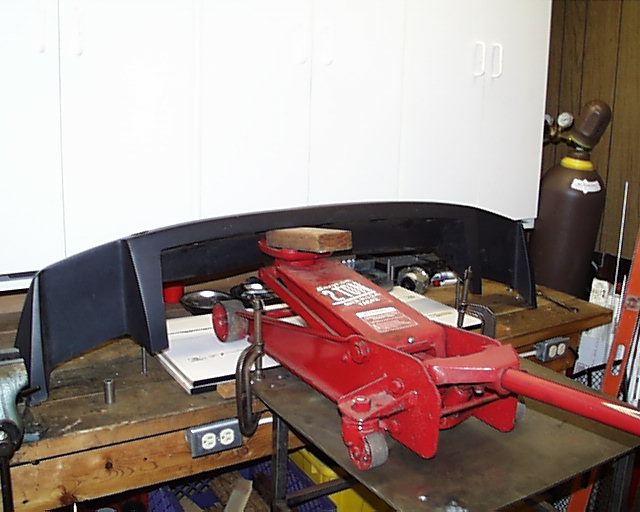
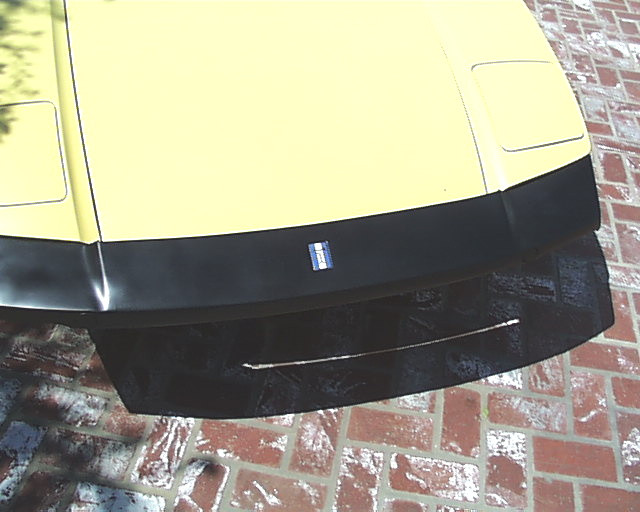
My 1974 L Pantera acquired a tree induced, fairly small, difficult to see, dent near the center of the front bumper. This dent, though small, prevented the front hood from fully opening. In addition, the bumper had the typical "waves" in the trailing edge. The OEM Pantera bumper is formed by molding a rubbery type of plastic over a bent-up sheet metal form.
I removed the bumper, restrained it with two pieces of threaded rod to my workbench and used a floor jack to remove the dent.
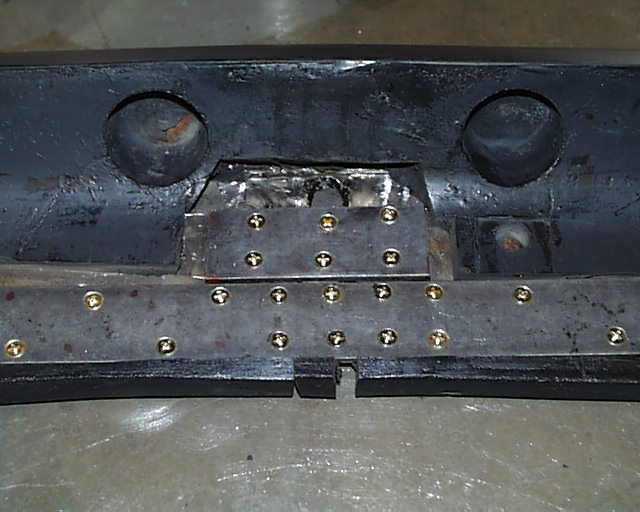
T o strengthen the bumper against future tree encounters and remove the "waves" in the trailing edge, I decided to insert a piece 3/16 X 2 inch reinforcing steel bar in the underside on the bumper.
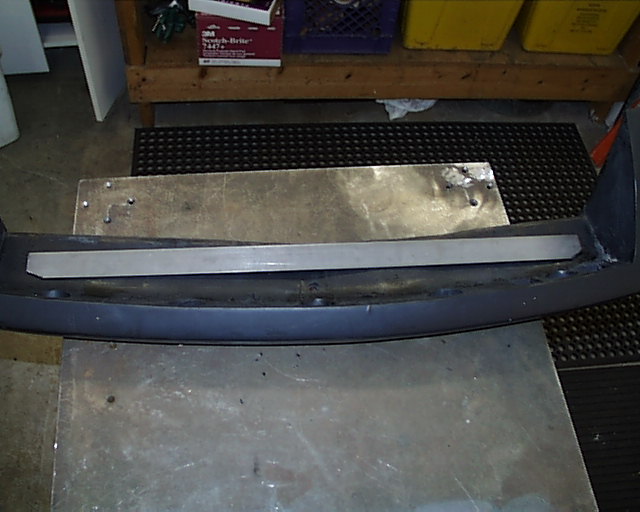
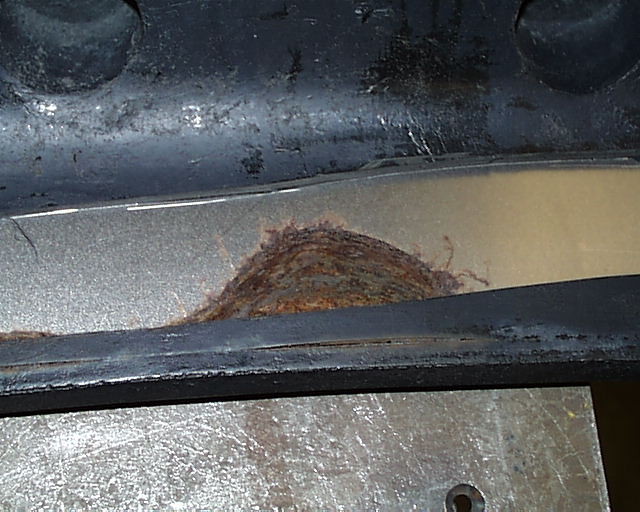
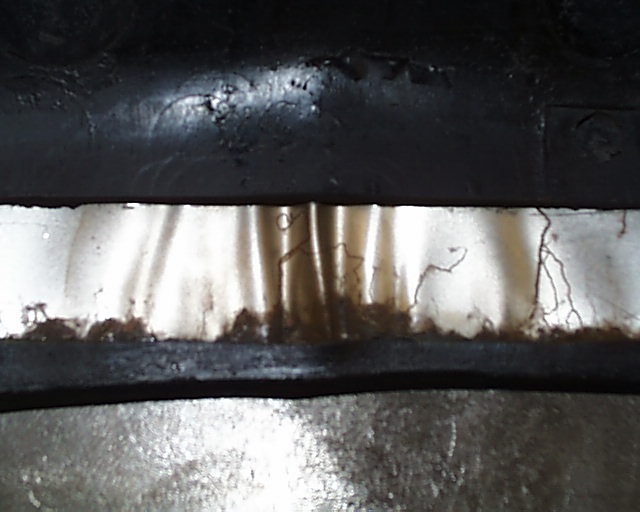
I cut the plastic coating on the back of the bumper in a channel to accept the steel bar. The plastic coating does not have a strong bond to the sheet metal form. The surface rust found in this area was removed.
The ripples in the sheet metal form are caused by stretching during to the dent and dent removal. There is no way to shrink this metal (as in normal metal working) because the front of the bumper is still imbedded in plastic.
After thinking about it overnight, a section was cut from the center of the stretched area. The sheet metal form could now be made flat. I cut the section with a saber saw, but a better method, and one which would not cut the surface of the front of the bumper, would be to use a cut-off grinder to just cut through the sheet metal form from the rear. Next time.

The reinforcing steel bar was drilled in a typical riveting pattern and counter sunk for # 8 brass, bevel head, self-tapping screws. The steel bar needs to have a very, very slight end-to-end curvature to match the line of the front hood. The steel bar was then laid in the channel and small pilot holes for the screws were carefully drilled to just pierce the sheet metal form. The screws were shortened with a grinder to accommodate the 3/16 steel bar and the 1/16 sheet metal. The screws were then inserted working outward from the middle to pull the bumper into the slight curvature required.
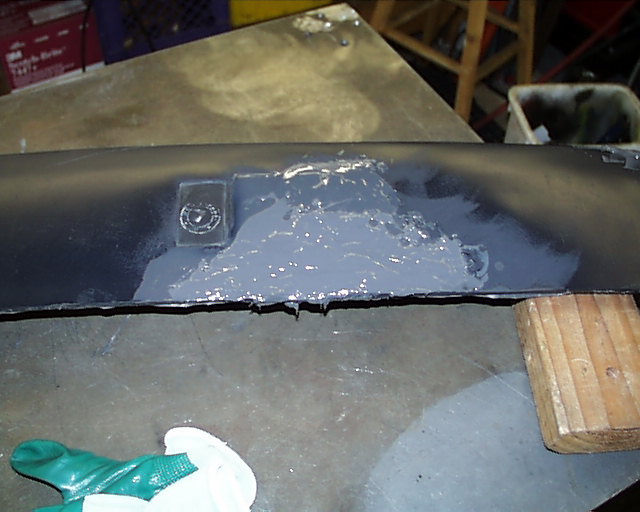
3M Plastic Repair #5895 (A and B) is a two part material which is mixed on a piece of cardboard and applied to fill any gaps using a putty knife. The material dries by chemical action in 10 minutes, can be sanded in 20 minutes, and is completely cured in 4 hours. This material was used to cover the steel bar, fill the channel, and fill the cuts on the front side. As this material cures chemically, it can be applied in any required thickness. The only constraint is that you not mix more material than you can apply in 10 minutes. The filler is very easy to sand and the edges of the repair can be easily feathered to produce a smooth surface. The photo is before sanding.
After sanding the 3M filler, a SEM #39133 Light Gray Flexible Primer/Surfacer was sprayed over the filled areas. This heavy material is used to quickly fill surface and sanding imperfections. The sufacer will dry in about 5 minutes. Multiple light coats are recommended. This material is somewhat rubbery. The sufacer can be sanded, but will quickly clog the paper.
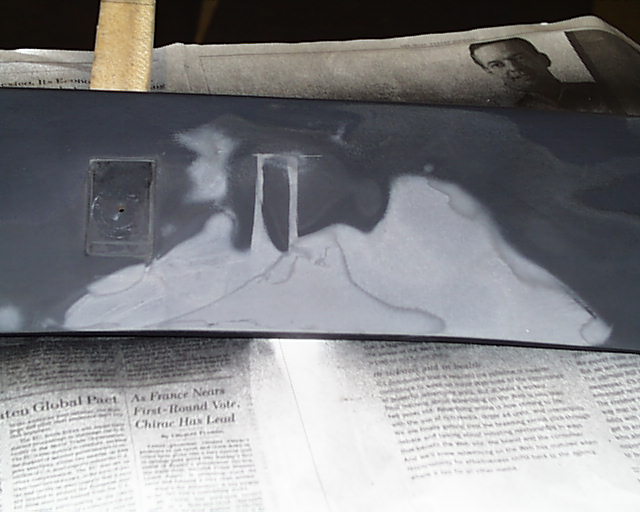
When the surface is completely free of imperfections, SEM #39103 Black Bumper Surfacer was applied to the entire bumper. This material is also rubbery, dries in 5 minutes, and quickly clogs sand paper. This material was applied in many coats, over two days, and resulted in an excellent finish.

I want to thank Curt Toumanian, a former Pantera owner and fine fellow, for providing me with the methods I used to repair my bumper.