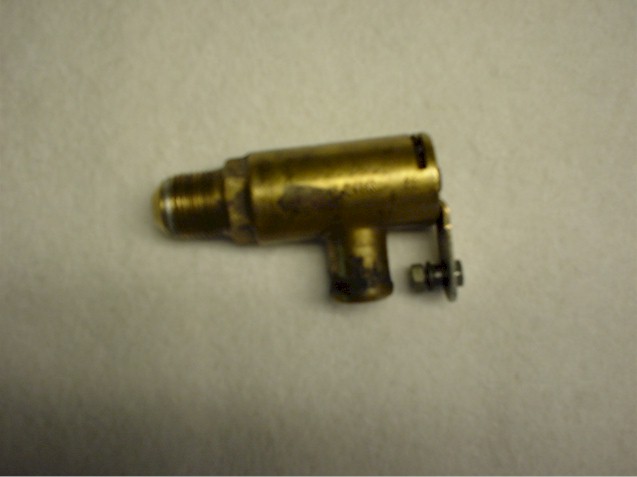
Most likely your heater control moves in a sluggish way or is even leaking. The vendors charge a very high price for a replacement valve which is either a rebuilt original or a new alternate replacement.
The reason for leaks is the internal O ring has deteriorated and the reason for sluggish movement is the crud that has built up over the years.
This procedure benefits from first installing heater core shut off valves in the heater lines which is detailed in a complementary article Mike Dailey. As you install the valves per Mike’s article you will shut off the valves and use a shop-vac to completely empty the lines going to the heater core. This way when you take out the under dash valve and remove the old hoses under dash they will be empty, minimizing the mess.
Take off the side covers to the console. Cover your carpeting with plastic just in case. Put paper towels under the work area. Disconnect the screws and nuts holding the heater valve in. Undo the hose clamps. Slit the hoses with a single edge blade length wise and remove them. Pull the valve towards you. Remove the cable. Clean off the tubes where the hoses came off.
Take the valve to a bench:
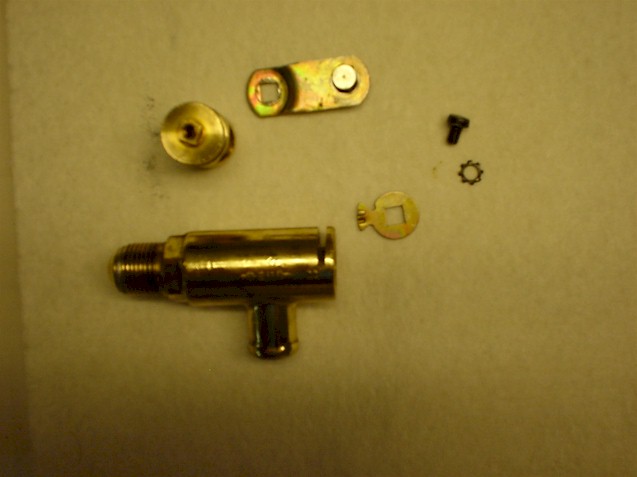
Remove the screw and remove the lever. Make a scratch mark on the small stop that limits travel to index it. Push the inner rotating mechanism down a little, Remove the stop. Make a scratch mark on the inner rotating mechanism on the hose side to index it for re-assembly. Insert a screwdriver through the opening in the bottom flare fitting, push the inner rotating assembly out. Remove the O-ring. Clean everything extremely well.

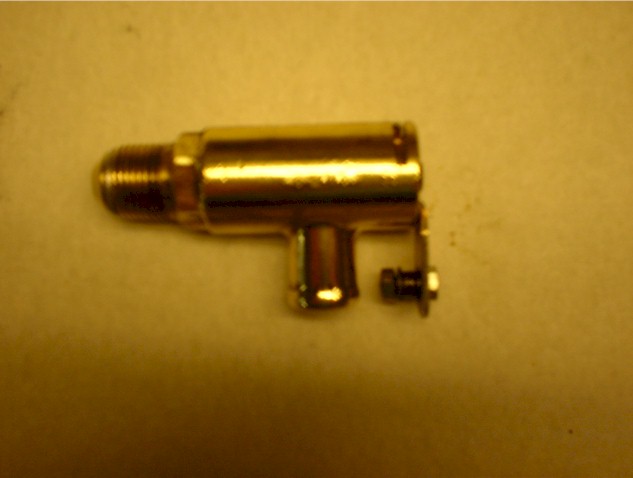
I polished the outside of the valve on a buffing wheel with white compound.
Lubricate a new o ring with nylog blue or other o ring lube. Install the new o ring. Place a small amount of nylog on the rotating assembly.
Insert the rotating assembly and index per your scratch mark. Push the mechanism low enough to install the stop. Push the rotating mechanism up a little and install the lever. Install the screw. It should move as good as new!
Reinstall new hoses and the valve.
Adjust the heater cable. Put the console covers back on.
Check the coolant level.
Parts list: Napa part numbers
O ring: 727-2112
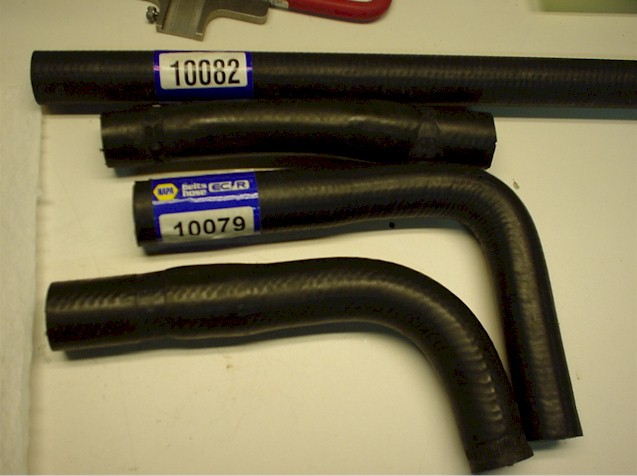
Hose: 10079
Hose: 10082