I recently upgraded my ignition system with a Pertronix Ignitor III and decided it might be a good idea to replace my twelve year old 8mm MSD wires.
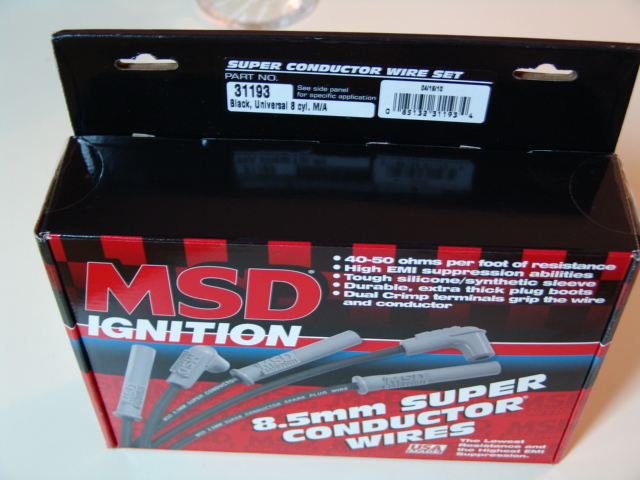
MSD 8.5mm Superconductor Sparkplug Wires that I used. The MSD part number is 31193 and they come in black or red.
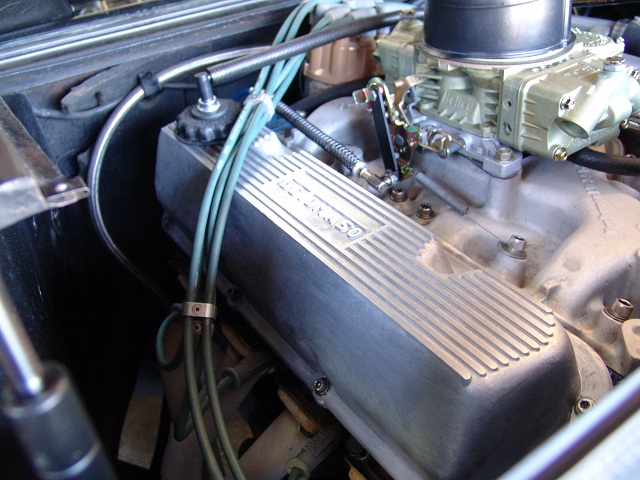

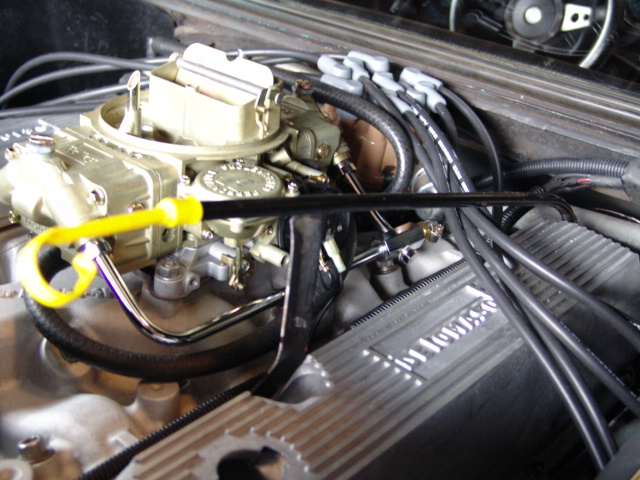
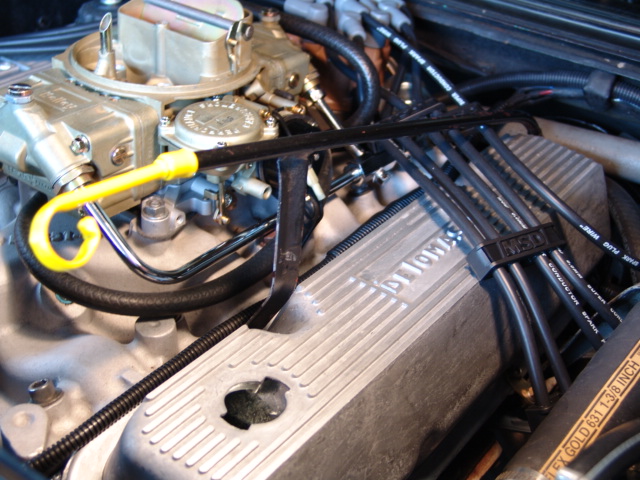
View of the original wires and aluminum wire looms/connectors.
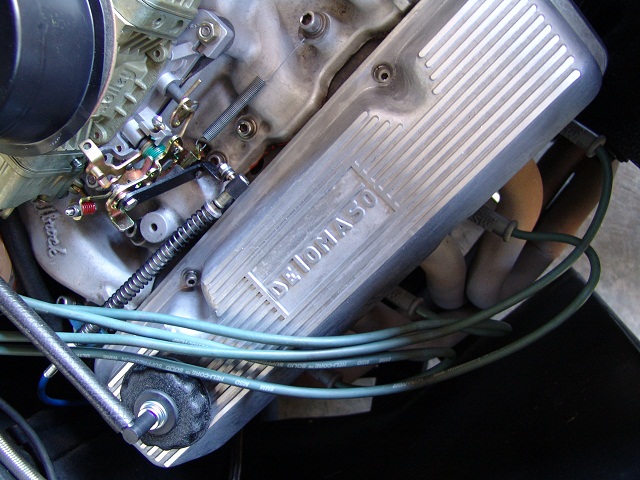
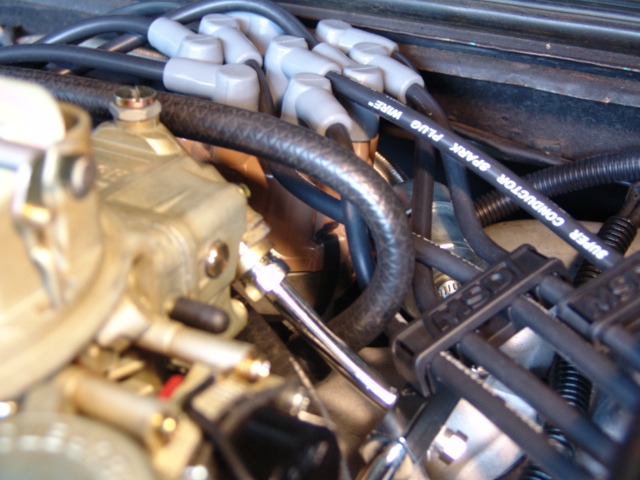
The first step was taking the wire looms off of the wires.

I find it works best if you take off one wire at a time off and use it to determine the length of the new wire. View of the first wire removed. I usually start with number 1 and the go 2, 3, 4, 5, 6, 7 and 8.

One critical item for the process, is dielectric grease to lube the ends of the wires or you will never be able to put the boots on. This package was purchased at Advance Auto.
Carefully review the MSD instruction sheet. Find the shortest wire in the kit that is long enough for number one and using the old wire cut the new wire to length. I cut them about 1/2" longer to account for the insulation that will be cut off. This view shows the tool that comes in the kit that is used to measure and cut the insulation. A old fashion razorblade with the metal back on it works great for making the cut.
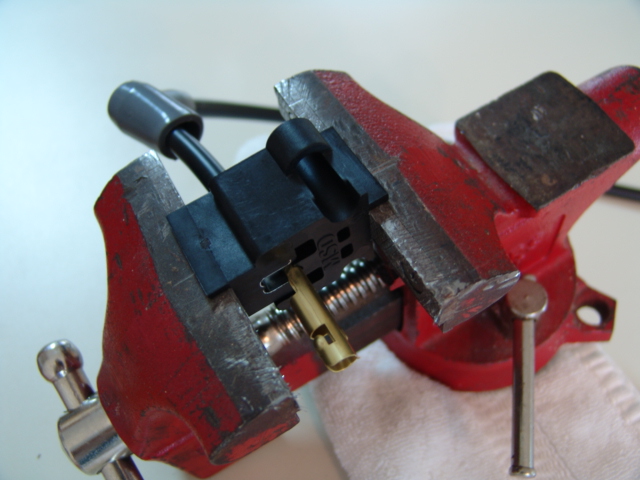
View of the crimping process using a small bench vice. A very thin coat of dielectric grease on the metal part of the tool will make the crimping go easer.
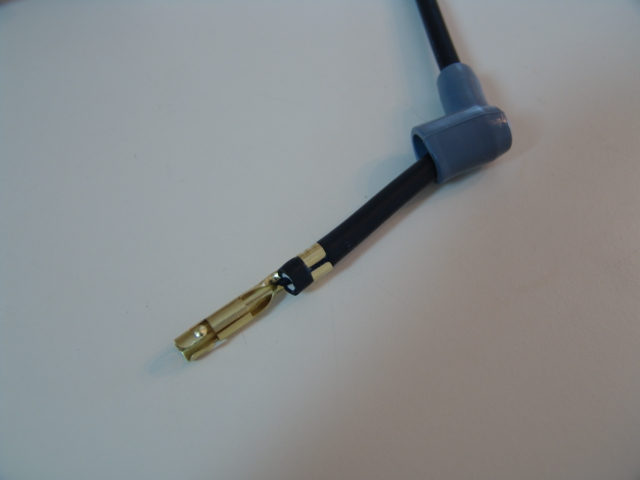
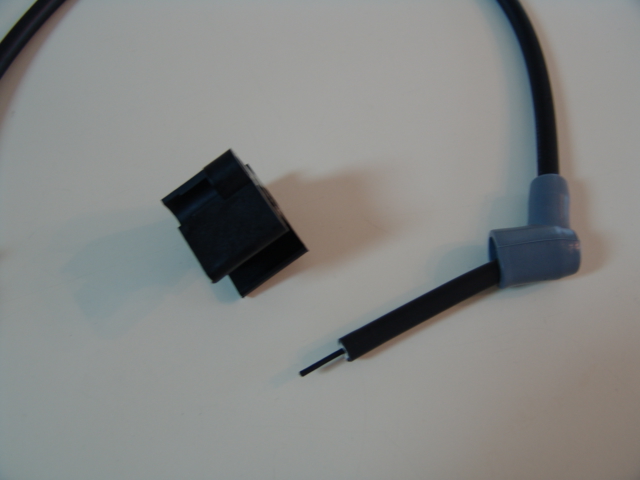
View of the crimped end. The kit comes with male and female ends. My distributor uses male ends on the wires.
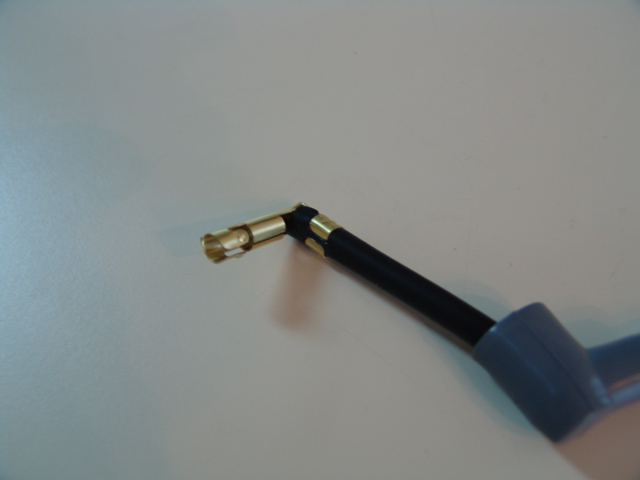
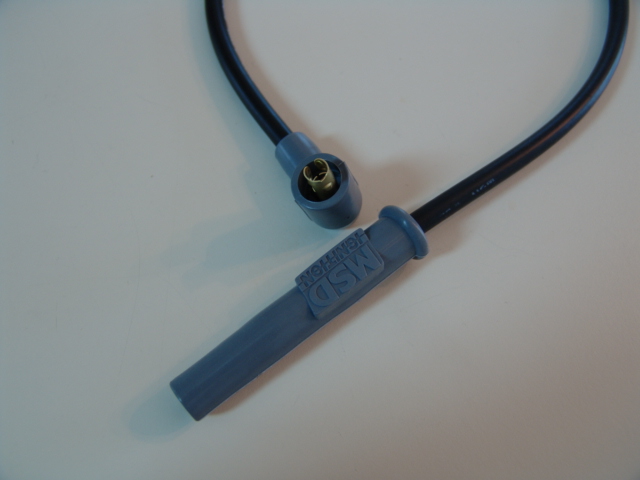
Next the connecter is bent into a 90 degree elbow and the boot slid over the end. On subsequent wires I found it was easer to put the boot on after the wire end was on and bent. But you must use dielectric grease.
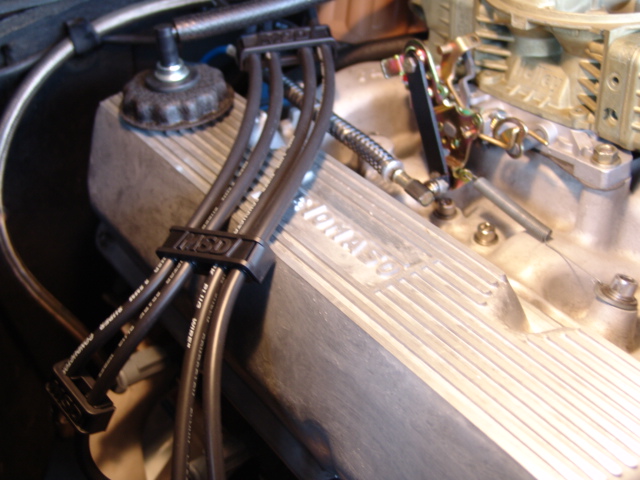
The process continued one wire at a time until they were all swapped out.
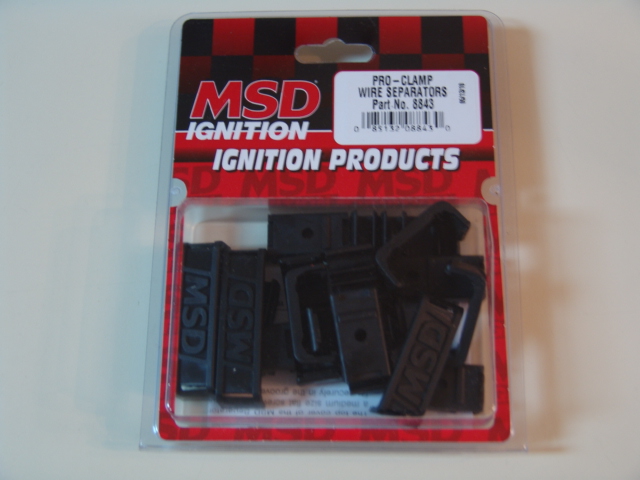
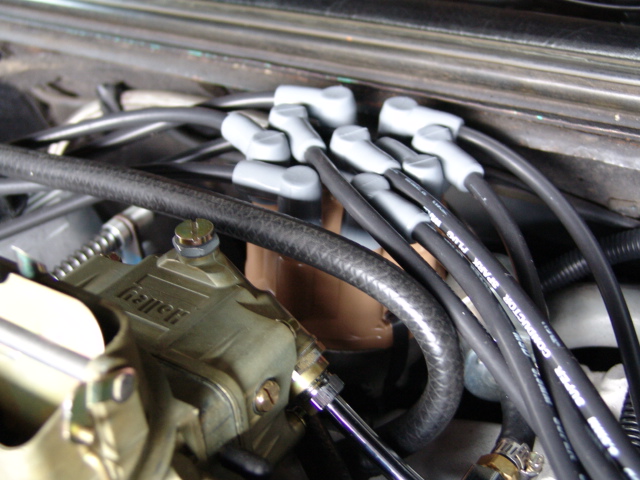
MSD makes some nifty snap together wire connectors and for my installation it required two packages.
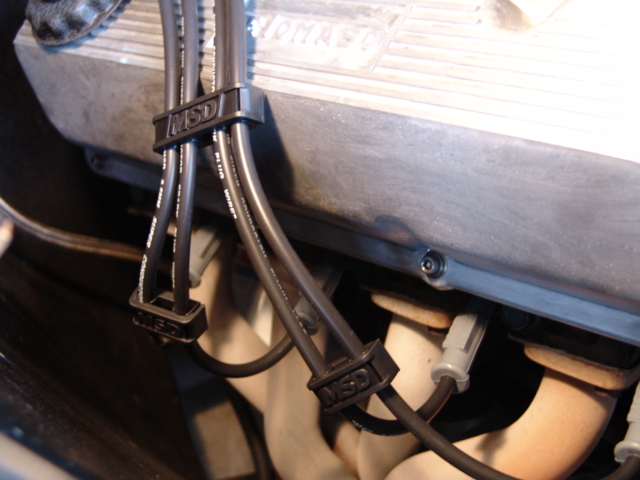
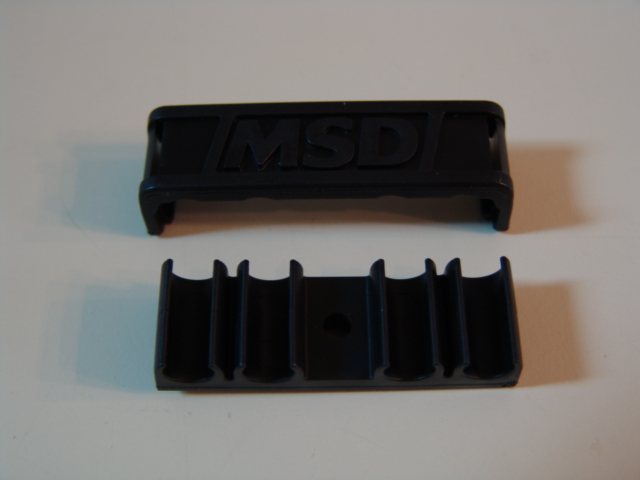
The wires are inserted in the lower part of the connector and the top snaps over the top.
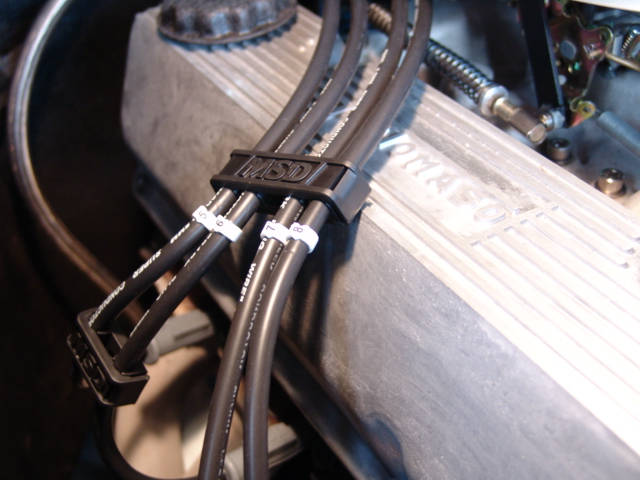
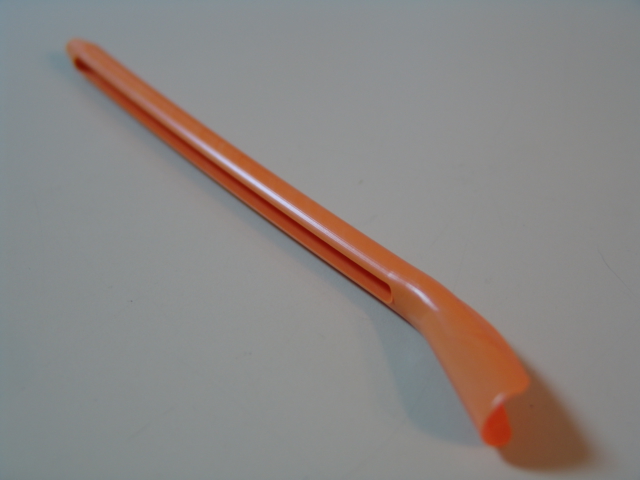
The wire kit comes with some neat wire numbers and a tool to slide them over the wires. The parts come installed on the tool and you just slide them off onto the the wire.
.
.